Hot Cocoa Bar Sign in a Picture Frame (Free SVG for Cricut)
Make a Hot Cocoa Bar sign with the free SVG, a picture frame and adhesive vinyl. A no-paint beginner project for a cocoa station or holiday party.
- Skill level
- Beginner
- Time
- 30 minutes
- Made on
- Sign
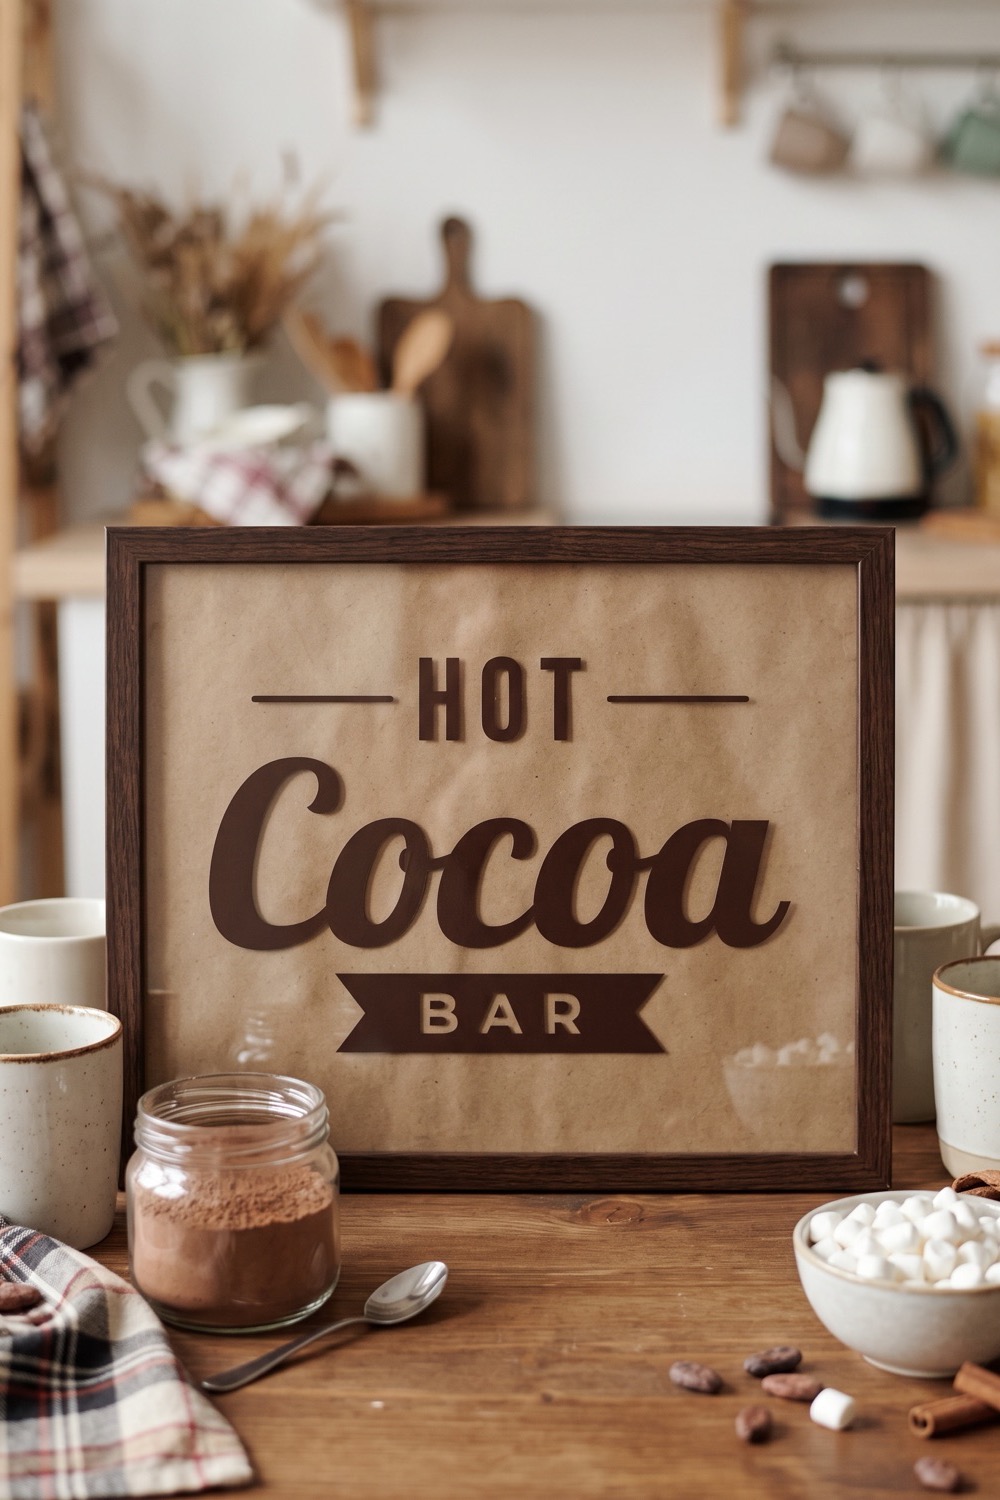
A Hot Cocoa Bar sign tells guests where the mugs, the marshmallows and the kettle are. For this version you need no board and no paint. The lettering goes on the glass of an ordinary picture frame, with kraft paper behind it. The one in our picture has dark brown vinyl in a plain wood frame. Clean glass is an easy surface for vinyl, which makes this a good first sign, and the frame stands up without help on a counter or a party table.
What you need
- Picture frame with glass or acrylic 8 x 10 in or 5 x 7 in; smooth front
- Adhesive vinyl dark brown in our picture; black also reads well on kraft
- Kraft or patterned paper cut to the frame size as the background
- Transfer tape standard tack
- Cutting machine and mat Cricut or Silhouette
- Weeding hook and scraper for weeding and burnishing
- Glass cleaner or rubbing alcohol plus a lint-free cloth
- The free “Hot Cocoa Bar” cut file sign-ups for the file open soon
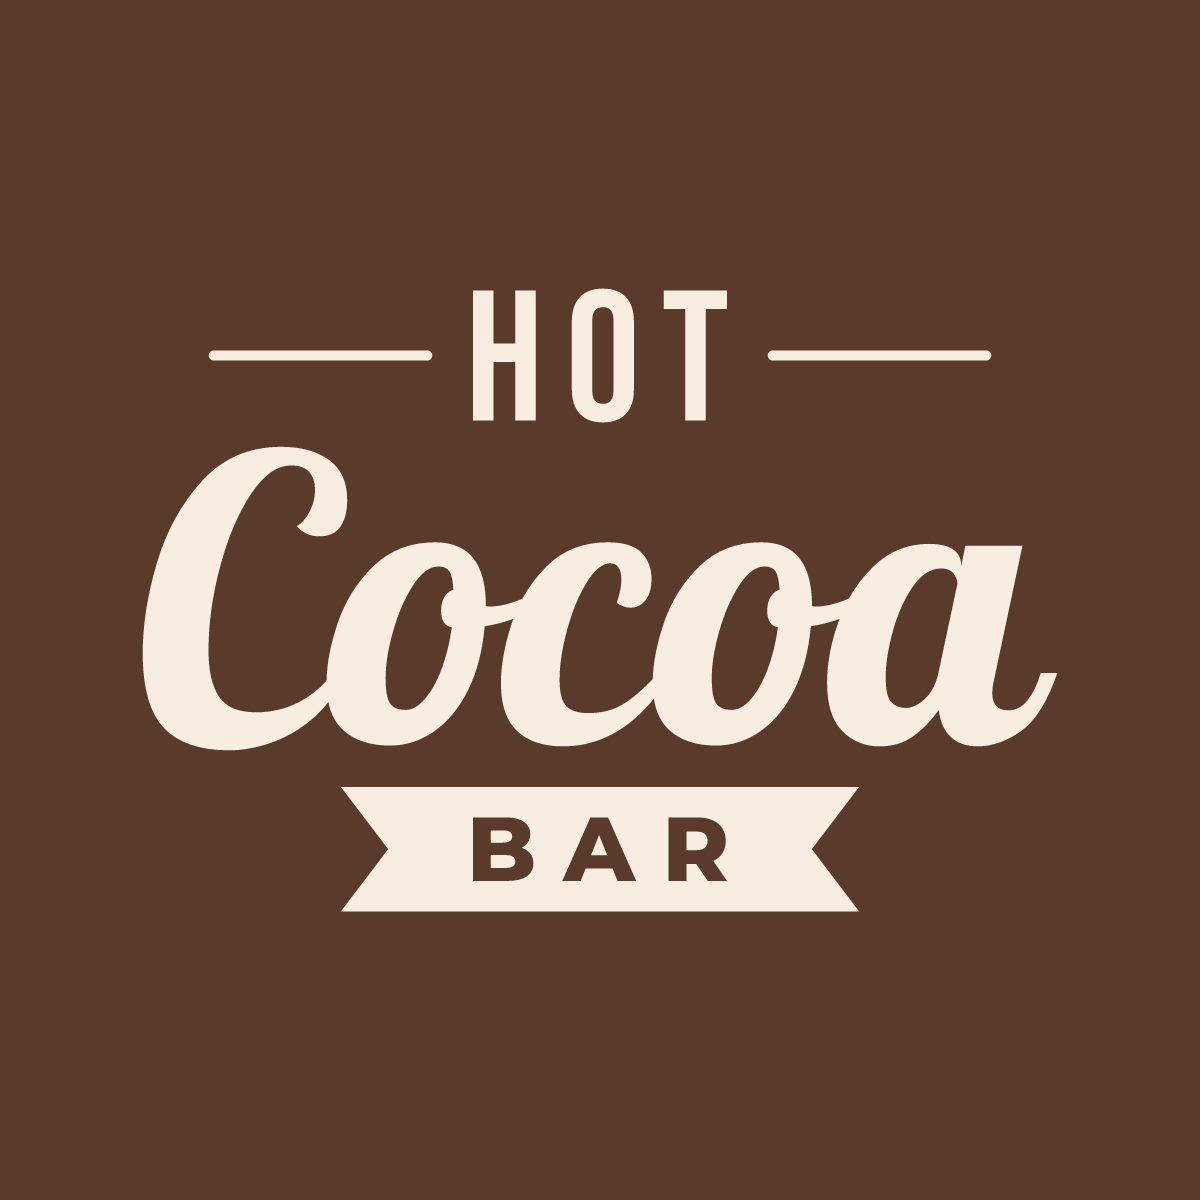
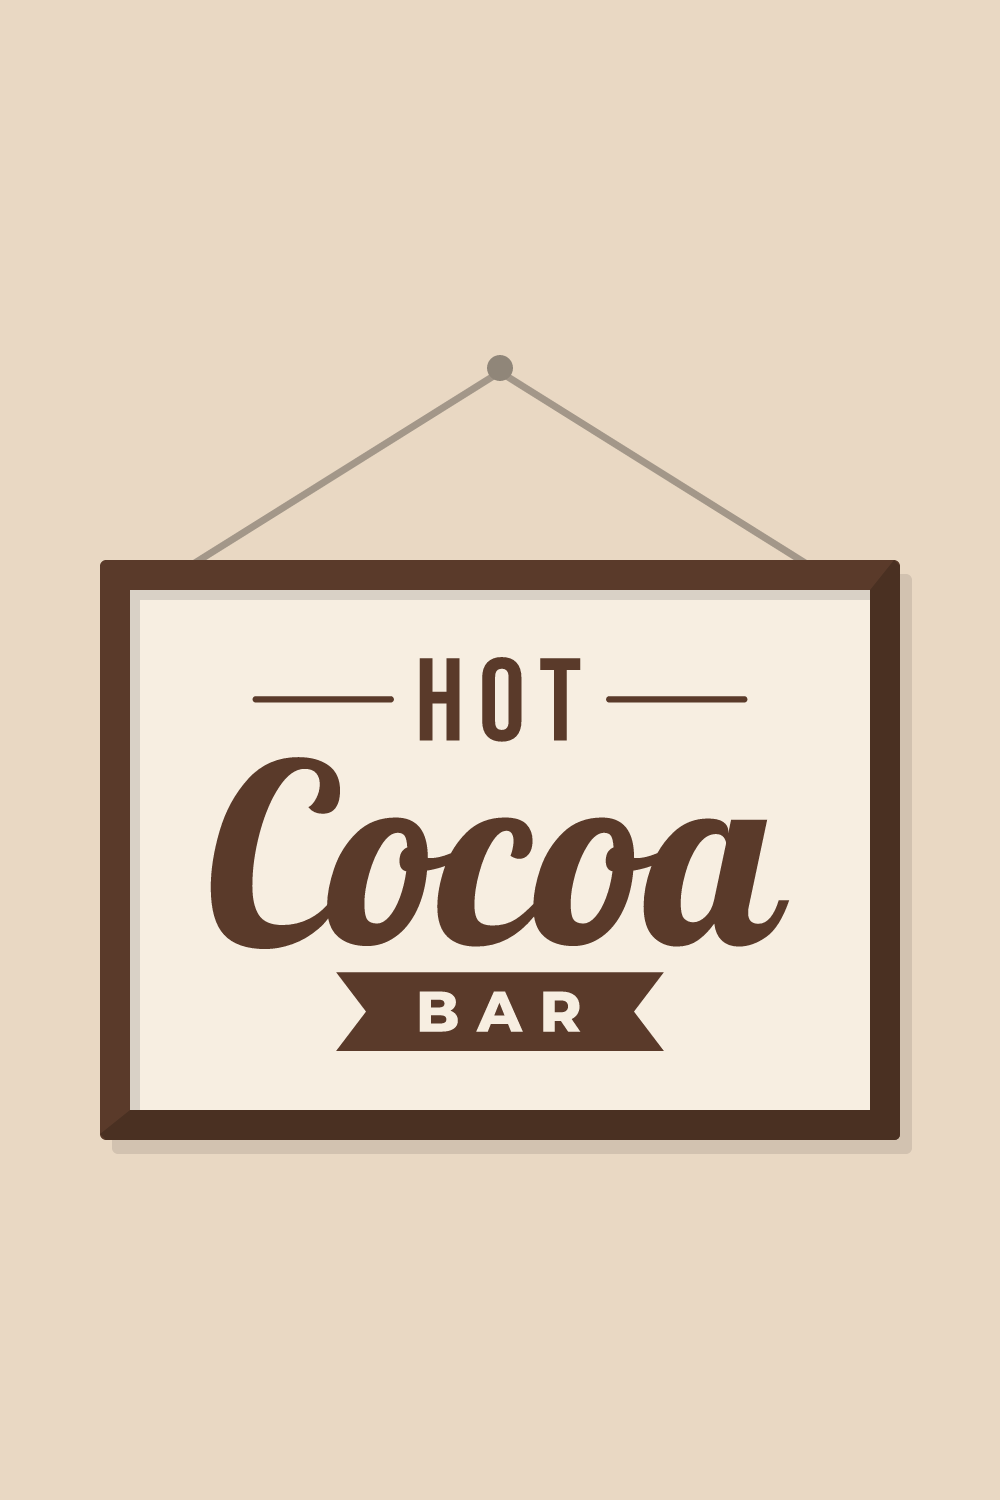
Sign-ups open soon
The free SVG and PNG for “Hot Cocoa Bar” will be sent by email. We are still setting that up, so there is nothing to fill in yet.
The steps on this page are ready to read now. Come back to this page for the file once sign-ups open.
How to make it
- Take the frame apart. Clean both sides of the glass and dry it with a lint-free cloth. If your frame has an acrylic sheet, peel off the protective film on both faces.
- Measure the opening of the frame, not the glass. The frame lip hides about a quarter inch on every side. Size the SVG to leave at least an inch of space inside that opening. The design is wider than it is tall, so in a frame stood upright, as pictured, the width is the limit.
- Cut the design from adhesive vinyl with the color side up, and do not mirror it. Choose the vinyl setting in your cutting software.
- Weed the background, then the centers of the O in HOT and of the round letters in the script word. The banner at the bottom works the other way. BAR is knocked out of it, which means the banner is solid vinyl and the letters are holes in it. There you lift out the letters themselves and leave their small centers on the backing: two in the B, one in the A and one in the R.
- Cut your backing paper to the size of the glass and set it aside.
- Apply transfer tape over the design and burnish. Lay the glass on a table over a sheet of grid paper or a cutting mat, so the lines show through and help you center the decal.
- Peel the paper backing off the vinyl. Lower the decal onto the front of the glass, middle first, and smooth it outward with the scraper.
- Peel the transfer tape back slowly. Put the frame back together with the backing paper behind the glass and the vinyl facing out.
Tips
- Handle the glass by its edges and with care. The cut edges of frame glass can be sharp.
- Pick the paper first, then the vinyl color. Dark brown or black lettering suits kraft and pale prints. White is better on red plaid or dark green paper.
- Removable vinyl is fine here and lets you reuse the frame. Peel the phrase off in January and add a new one for the next season.
- Static on acrylic attracts dust. Wipe it right before the decal goes down.
FAQ
Should the vinyl go on the front or the back of the glass?
The front is simplest, and it is what these steps describe. To put it on the back, mirror the design before cutting so it reads correctly through the glass. The back keeps the lettering protected, but the frame’s backing paper presses against it.
What can be used in place of kraft paper?
Try wrapping paper, a page of sheet music from a thrift shop, burlap-print cardstock or plain black paper for a chalkboard look. Avoid busy prints in the same color as your vinyl.
How do we clean the finished sign?
Wipe around the lettering with a soft, slightly damp cloth. Do not spray cleaner directly on the vinyl, and do not scrub across the letter edges. A cocoa station gets sticky fingers, so a gentle wipe now and then keeps it looking fresh.