Merry and Bright Christmas Shirt for Cricut (Free SVG)
Make a Merry and Bright Christmas shirt with heat transfer vinyl. Free SVG cut file, sizing for adults and kids, and a clear first-timer walkthrough.
- Skill level
- Beginner
- Time
- 45 minutes
- Made on
- Shirt
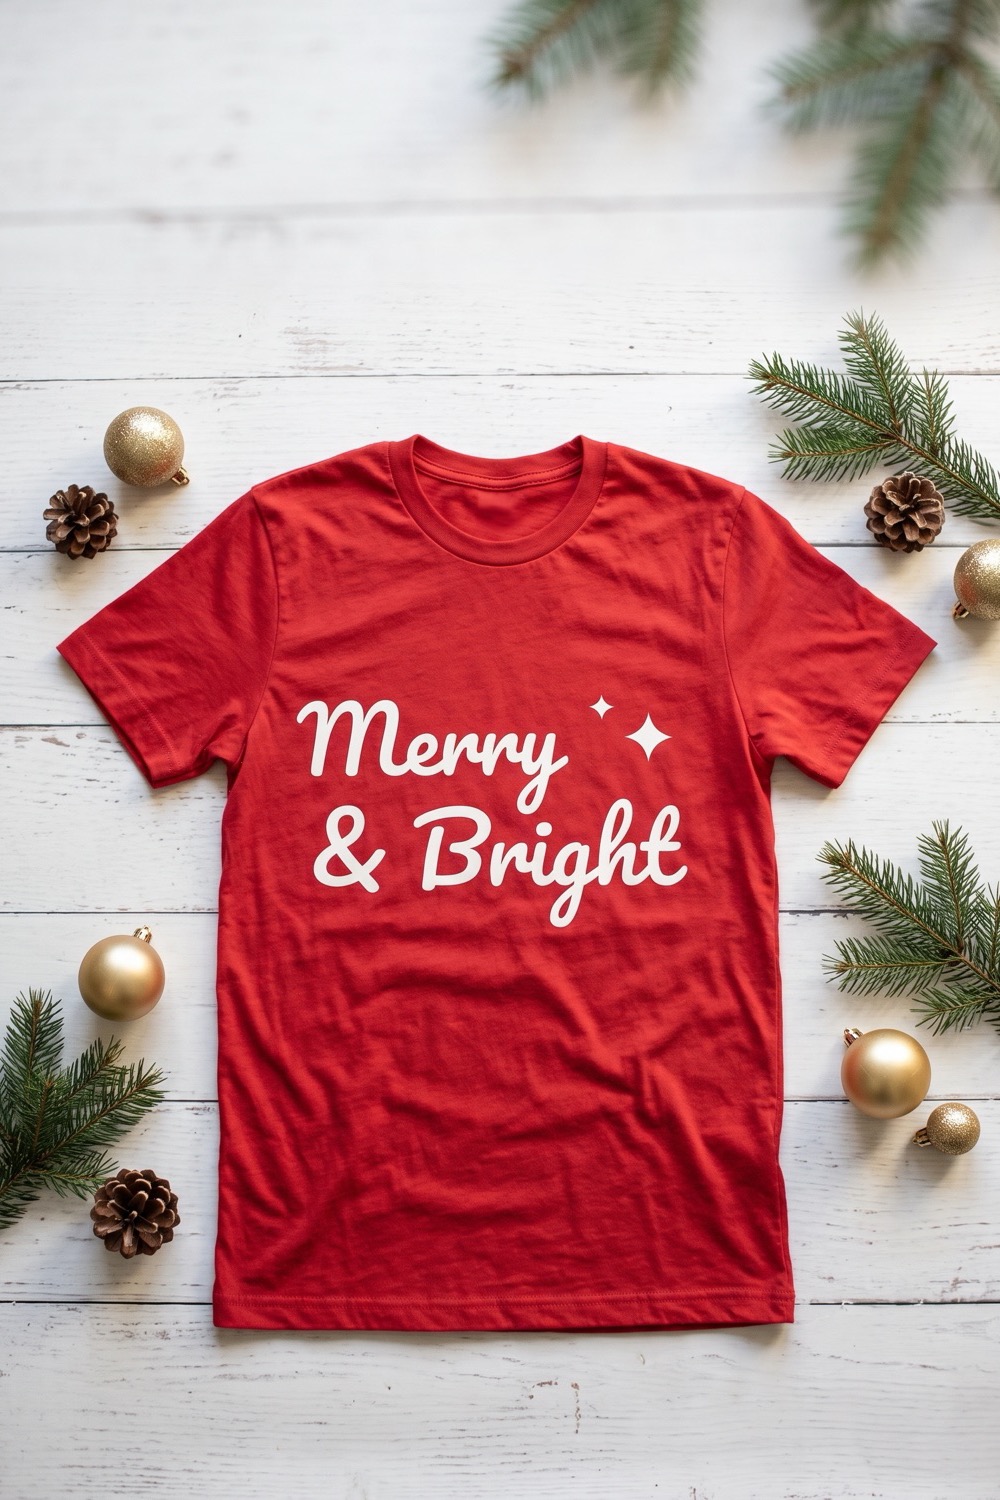
A Merry & Bright shirt is a good first iron-on project. It is two short words and an ampersand, with two small sparkles at the top right, so there is little to weed. Make one for a holiday party or a family photo. Our picture shows the classic choice, white vinyl on a red shirt. Before you cut, mirror the design. A sheet cut the wrong way round cannot be saved.
What you need
- Cotton or cotton-blend T-shirt pre-washed, no fabric softener
- Heat transfer vinyl (HTV), white or gold one 12 x 12 in sheet covers an adult shirt
- Cutting machine and standard grip mat any Cricut or Silhouette model works
- Weeding hook for the insides of the letters and the ampersand
- Heat press or household iron an iron works if you turn the steam off
- Parchment paper or a pressing sheet protects the carrier and the shirt
- The free “Merry & Bright” cut file sign-ups for the file open soon

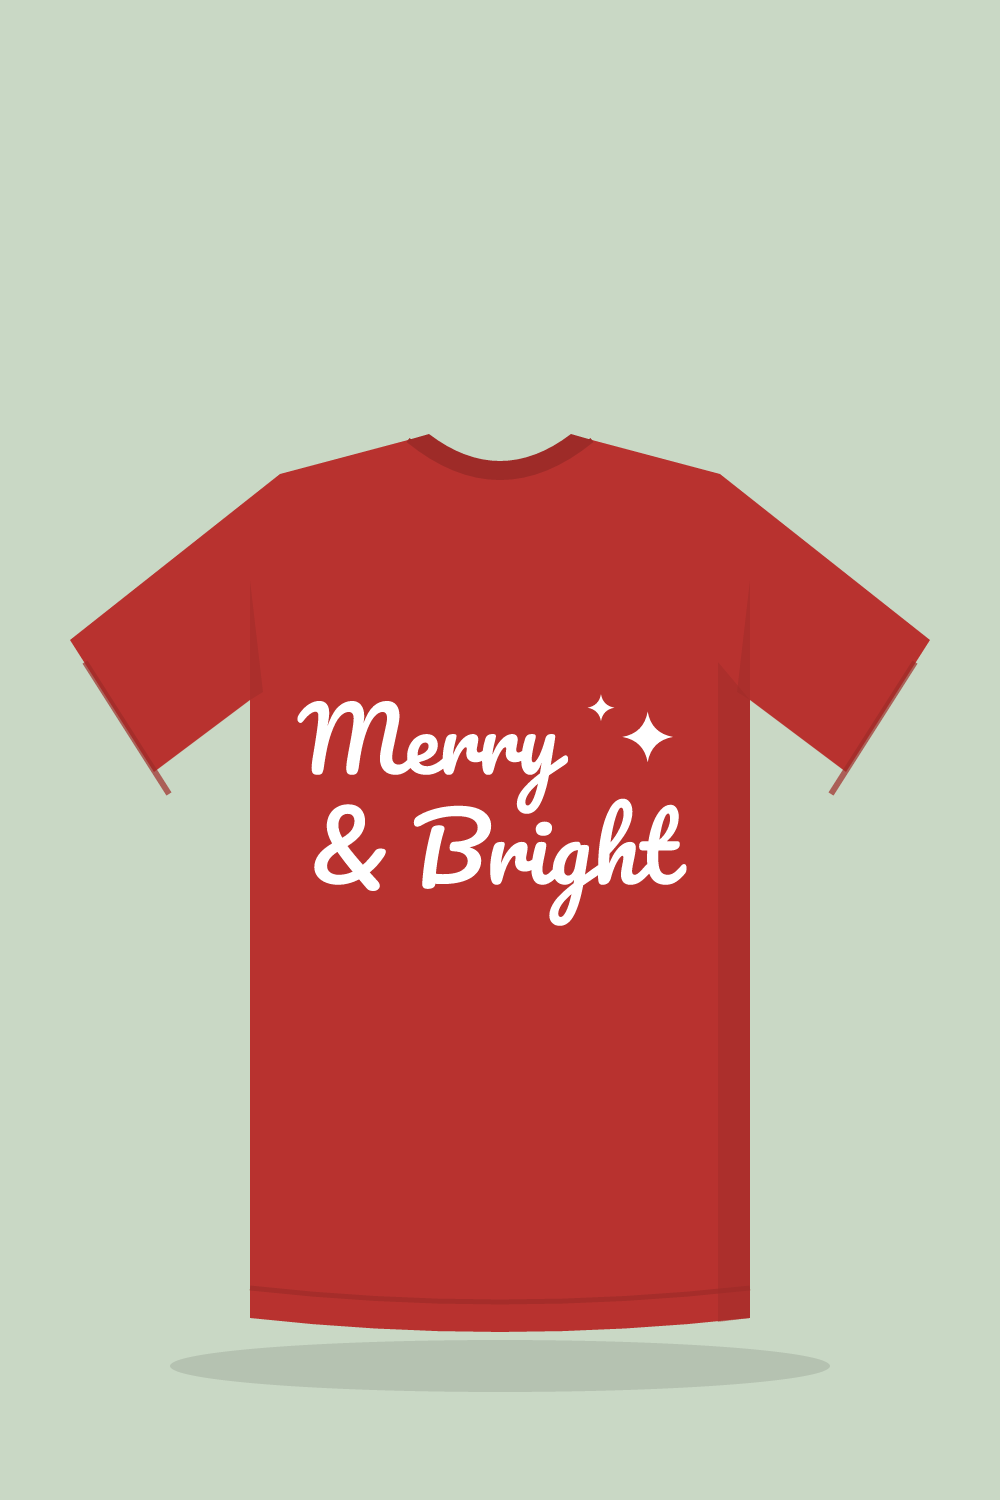
Sign-ups open soon
The free SVG and PNG for “Merry & Bright” will be sent by email. We are still setting that up, so there is nothing to fill in yet.
The steps on this page are ready to read now. Come back to this page for the file once sign-ups open.
How to make it
- Wash and dry the shirt first. New shirts carry a factory finish that can stop vinyl from bonding, and cotton shrinks a little on the first wash.
- Upload the SVG to your cutting software and measure your shirt. For an adult shirt, size the design about 9 to 11 inches wide. Youth shirts suit 7 to 9 inches, toddler shirts 5 to 6.
- Mirror the design. On screen the words should read backward. This is the step first-timers skip most often.
- Lay the vinyl on the mat with the shiny carrier side down and the dull side facing up. Pick the iron-on setting that matches your vinyl in the software and cut.
- Weed away everything that is not the design. Start at a corner and pull slowly. Then pick out the insides of the letters and both loops of the ampersand.
- Fold the shirt in half lengthwise and press the fold for a moment to leave a center crease. Open it flat again. The warm fabric also drives out moisture, which helps the vinyl stick.
- Place the design with the sticky carrier facing up. The top of the lettering should sit about 3 inches below the collar on an adult shirt, less on small sizes. Center the design as a whole. Measure its full width, sparkles included, and mark the midpoint on the carrier with a bit of tape. Match that mark to the crease. The ampersand sits at the far left of the second line, so it is no guide to the middle.
- Cover with parchment and press with firm pressure. Use the temperature and time from your vinyl maker’s heat guide. Peel the carrier warm or cool, whichever that guide says.
Tips
- Run a small test cut in a corner before the full design. You want the blade to slice the vinyl and leave the clear carrier whole.
- If a letter lifts with the carrier, lay it back down, cover it and press again.
- An ironing board flexes too much for a household iron to do this job. Press on a table or countertop covered with a folded towel, and lean your body weight into it.
- Keep the iron’s steam holes off small pieces. Shift the iron between presses so every letter gets full contact.
FAQ
Why does the design have to be mirrored?
Heat transfer vinyl is cut from the back. The clear carrier sheet is the front, and it stays on until after pressing. If you cut without mirroring, the words will read backward once you flip the design onto the shirt.
How long should we wait before washing the shirt?
Give the adhesive at least a full day to set. After that, turn the shirt inside out and wash it in cool water. Tumble dry on low or hang it up. Do not iron directly over the lettering.
Can the design go on a dark shirt?
Yes. Regular HTV is opaque, so white, gold and silver all show clearly on red, green, navy or black. Sizing and pressing stay the same. On a dark shirt, check your placement twice, because a pressed-on mistake is easy to see.