Santa's Favorite Kids Christmas Shirt (Free SVG for Cricut)
Make a Santa's Favorite shirt or baby bodysuit with this free SVG. Small-size design widths, pressing around snaps and seams, and kid-proof wash care.
- Skill level
- Easy
- Time
- 40 minutes
- Made on
- Shirt
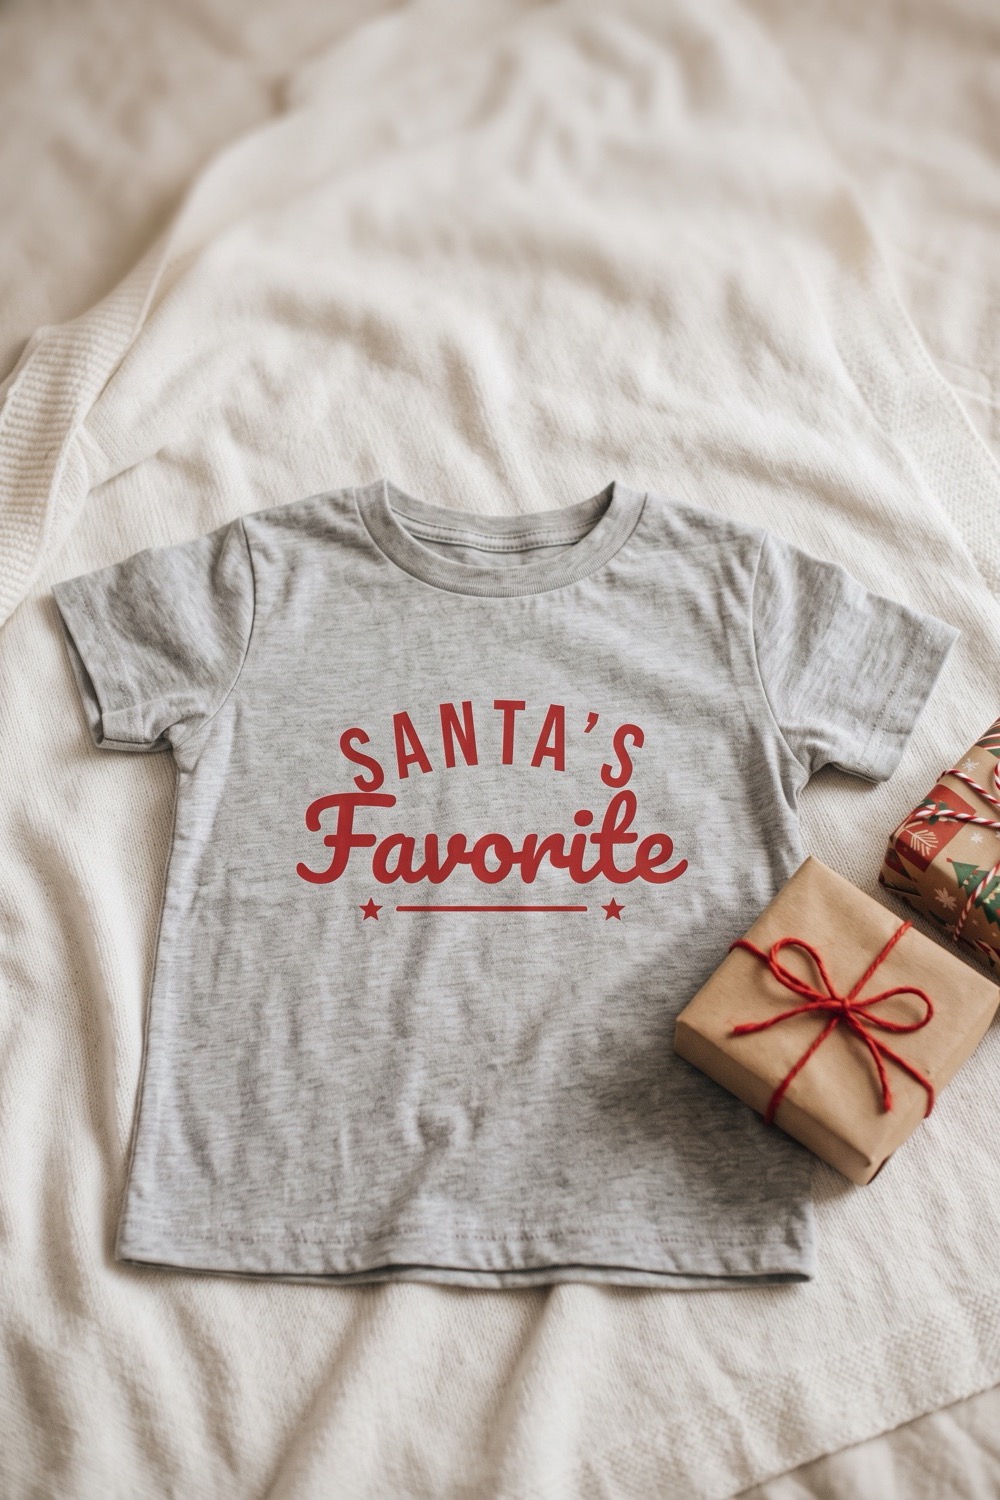
Santa’s Favorite is made for the smallest people at the party. It fits a baby bodysuit, a toddler tee or a big-kid shirt, and siblings and cousins can each wear the title. In our picture it is red on light gray. Small garments leave less flat space, and snaps and seams get in the way of the press. The apostrophe is tiny and tends to lift away while you weed.
What you need
- Kids T-shirt or baby bodysuit light gray in our picture; cotton, washed once
- Heat transfer vinyl (HTV), red or white red on gray as pictured; a half sheet is enough
- Cutting machine and mat leftover vinyl scraps fit this design well
- Weeding hook the apostrophe is the smallest piece
- Heat press or iron a small iron helps on tiny garments
- Folded towel or small pressing pillow goes inside to lift the front above snaps and seams
- Parchment paper cover the design while pressing
- The free “Santa's Favorite” cut file sign-ups for the file open soon

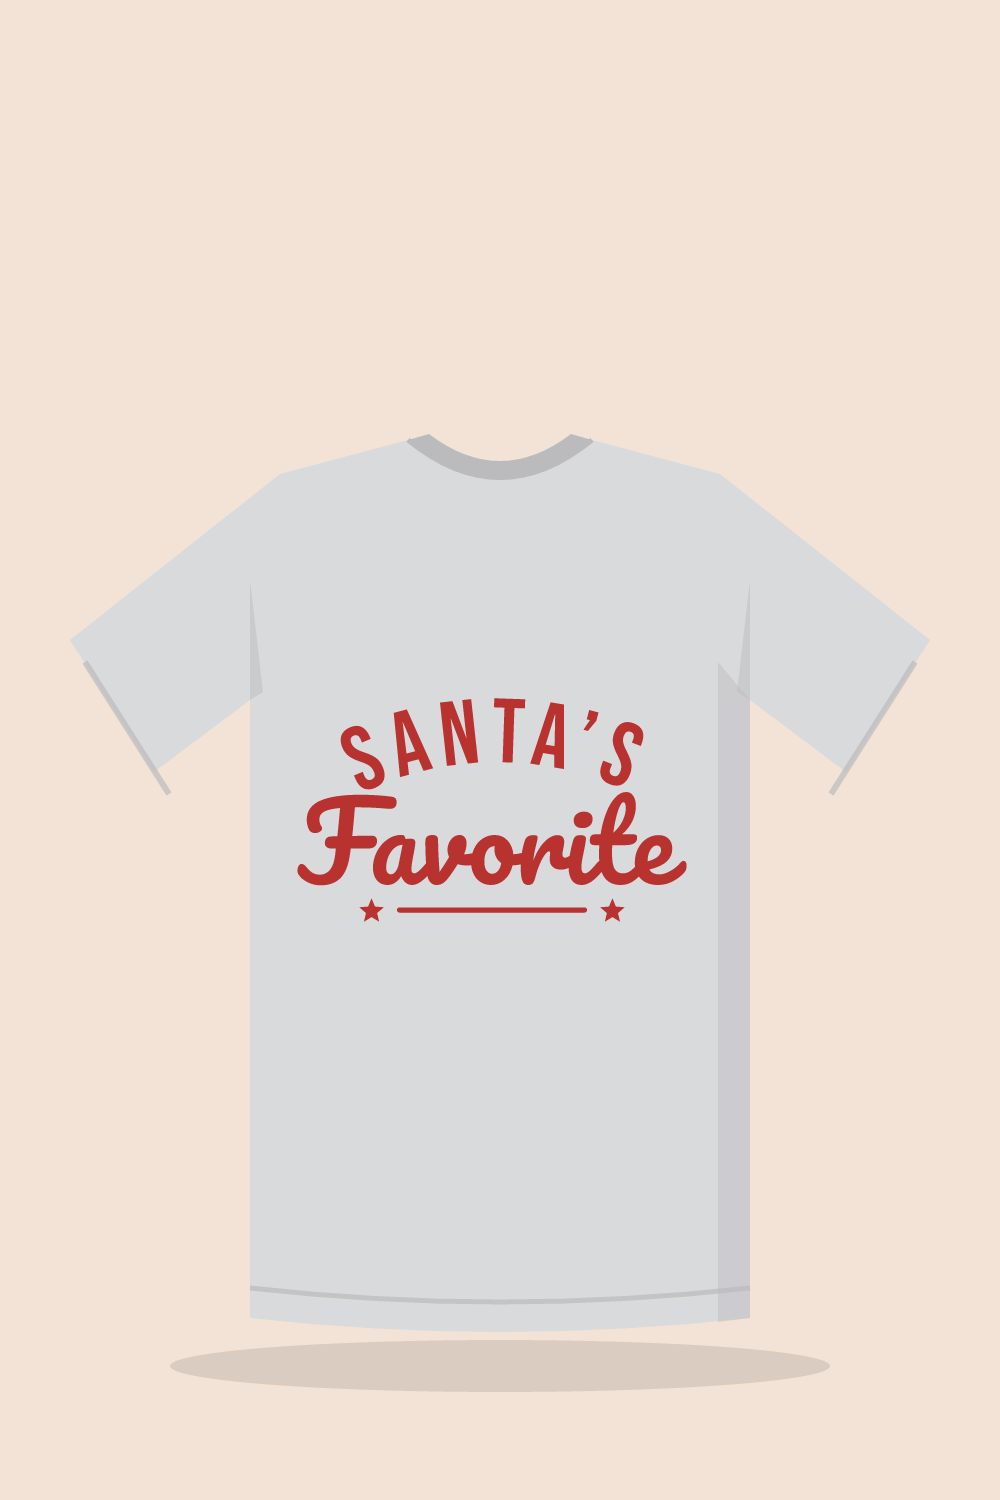
Sign-ups open soon
The free SVG and PNG for “Santa's Favorite” will be sent by email. We are still setting that up, so there is nothing to fill in yet.
The steps on this page are ready to read now. Come back to this page for the file once sign-ups open.
How to make it
- Lay the garment flat and measure the open area on the front, between the side seams and below the neckline. Kids’ clothes vary a lot, so trust the tape measure over the size tag.
- Scale the SVG to fit. As a starting range, use 3 to 4.5 inches wide for a baby bodysuit, 5 to 6 inches for toddlers and 7 to 9 inches for youth sizes.
- Mirror the design so the words read backward on screen, then cut it from HTV with the carrier side against the mat. Pick the iron-on setting that matches the vinyl you bought.
- Weed the background away slowly. Hold the apostrophe down with a fingertip as you pull past it. If it goes missing anyway, cut a spare from a scrap and place it by hand. The two stars and the underline at the bottom are loose pieces too.
- Slide a folded towel or small pressing pillow inside the garment. The front should sit raised, with the snaps, collar ribbing and side seams hanging off the edges.
- Pre-press for a moment. Place the design about 1.5 to 2 inches below the neckline on small sizes. The top word is arched, so check level against the straight underline. Do not stretch the knit while you position it.
- Cover with parchment and press with firm, even pressure, following your vinyl maker’s heat guide. Peel the carrier when the guide says to.
Tips
- Ribbed bodysuits stretch easily. If the fabric is stretched during pressing, the vinyl will pucker when it relaxes. Let the garment lie naturally on the pad.
- Keep metal or plastic snaps out of the press area. They get hot, and they stop the plate from touching the vinyl evenly.
- After mirroring, the apostrophe curves the opposite way on the mat. It will face the right way once the design is flipped onto the shirt.
- For several kids, set each size up on its own mat in the software, so each one cuts at its own width.
FAQ
What vinyl is suitable for baby clothes?
Look for standard HTV that the maker describes as suitable for children’s clothing, and read the product details if that matters to you. A thin, smooth vinyl feels softer on a small chest than thick specialty types such as glitter.
Can the design be personalized with a name?
Yes. Add a line of text under the phrase in your cutting software before you mirror. Keep the name at least half an inch tall on small sizes, so the letters stay easy to weed and press.
How does it hold up to frequent washing?
Kids’ clothes get washed often, so the first press matters. Use firm pressure and the full time from the heat guide. Wait a day, then wash inside out in cool water and dry on low. If an edge lifts later, cover it and press it again.