Baking Spirits Bright Christmas Apron Set (Free SVG File)
Make matching Baking Spirits Bright aprons for a grown-up and a child with one free SVG. Sizing for both bibs and a simple two-color vinyl option.
- Skill level
- Easy
- Time
- 1 hour
- Made on
- Apron
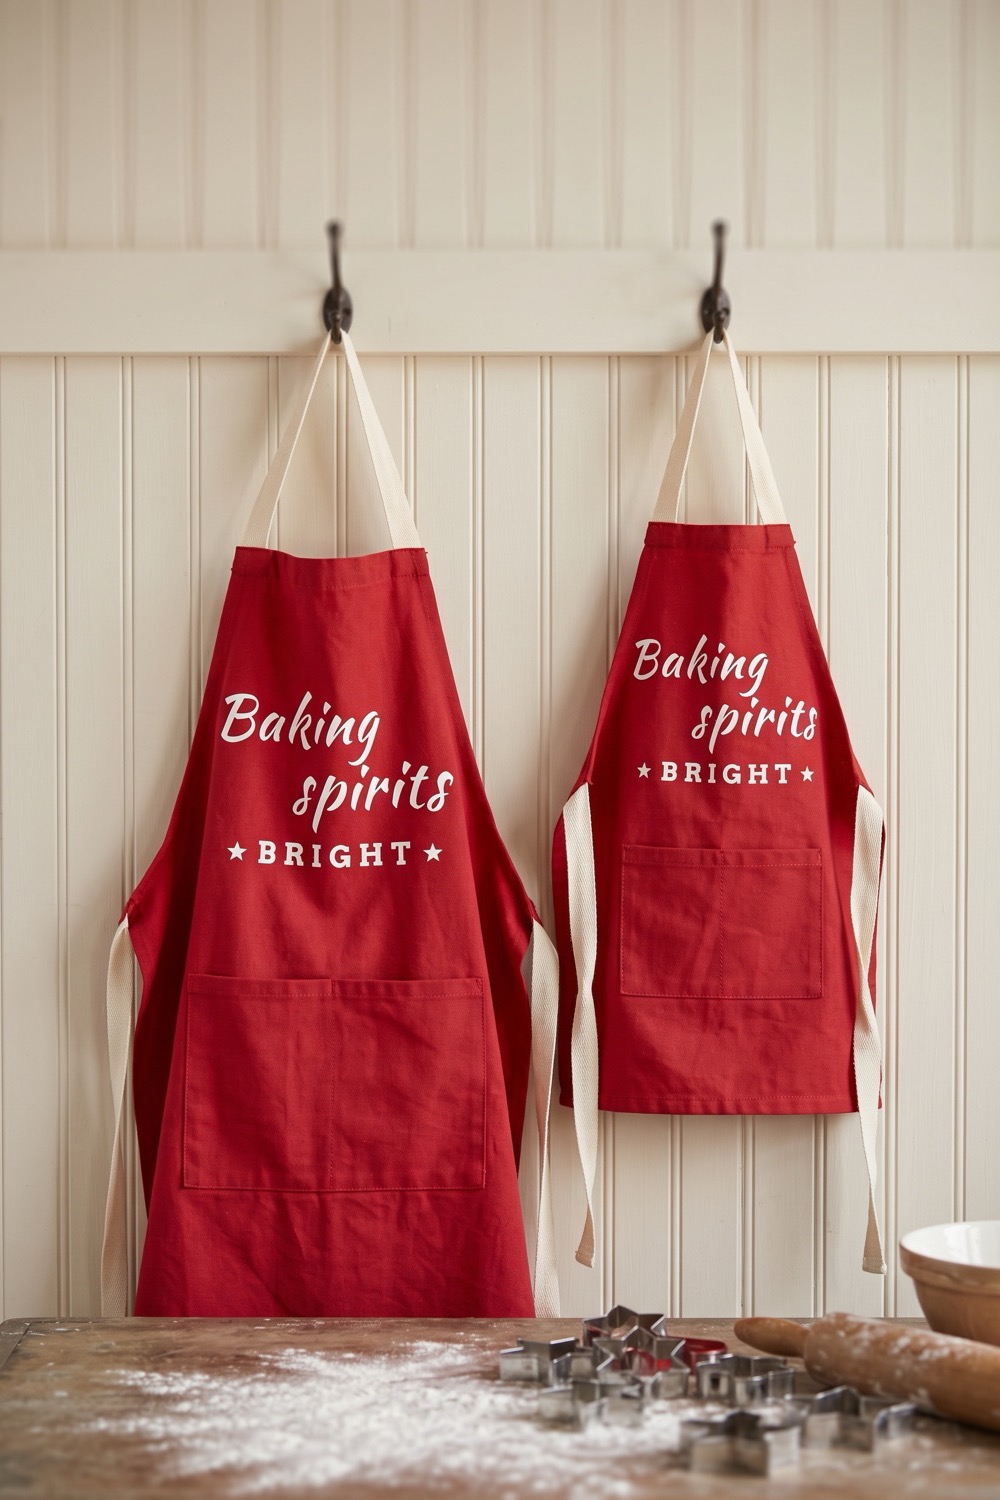
Baking Spirits Bright is a cookie-day pun, and it suits a matching pair of aprons: one for the grown-up running the oven and one for the helper in charge of sprinkles. Our picture shows both, an adult and a child apron side by side, white on red. Both are cut and pressed the usual iron-on way. Plan to spend most of your time fitting one phrase onto two bibs of different sizes.
What you need
- Adult apron and child apron cotton; red in our picture; washed and pressed
- Heat transfer vinyl (HTV) white in our picture; one sheet covers both sizes
- Cutting machine and mat both sizes usually fit on one 12 x 12 in mat
- Weeding hook the child-size letters are small
- Heat press or iron set from the vinyl maker's guide
- Parchment paper one sheet for both aprons
- Ruler or measuring tape bib sizes differ a lot between brands
- The free “Baking Spirits Bright” cut file sign-ups for the file open soon
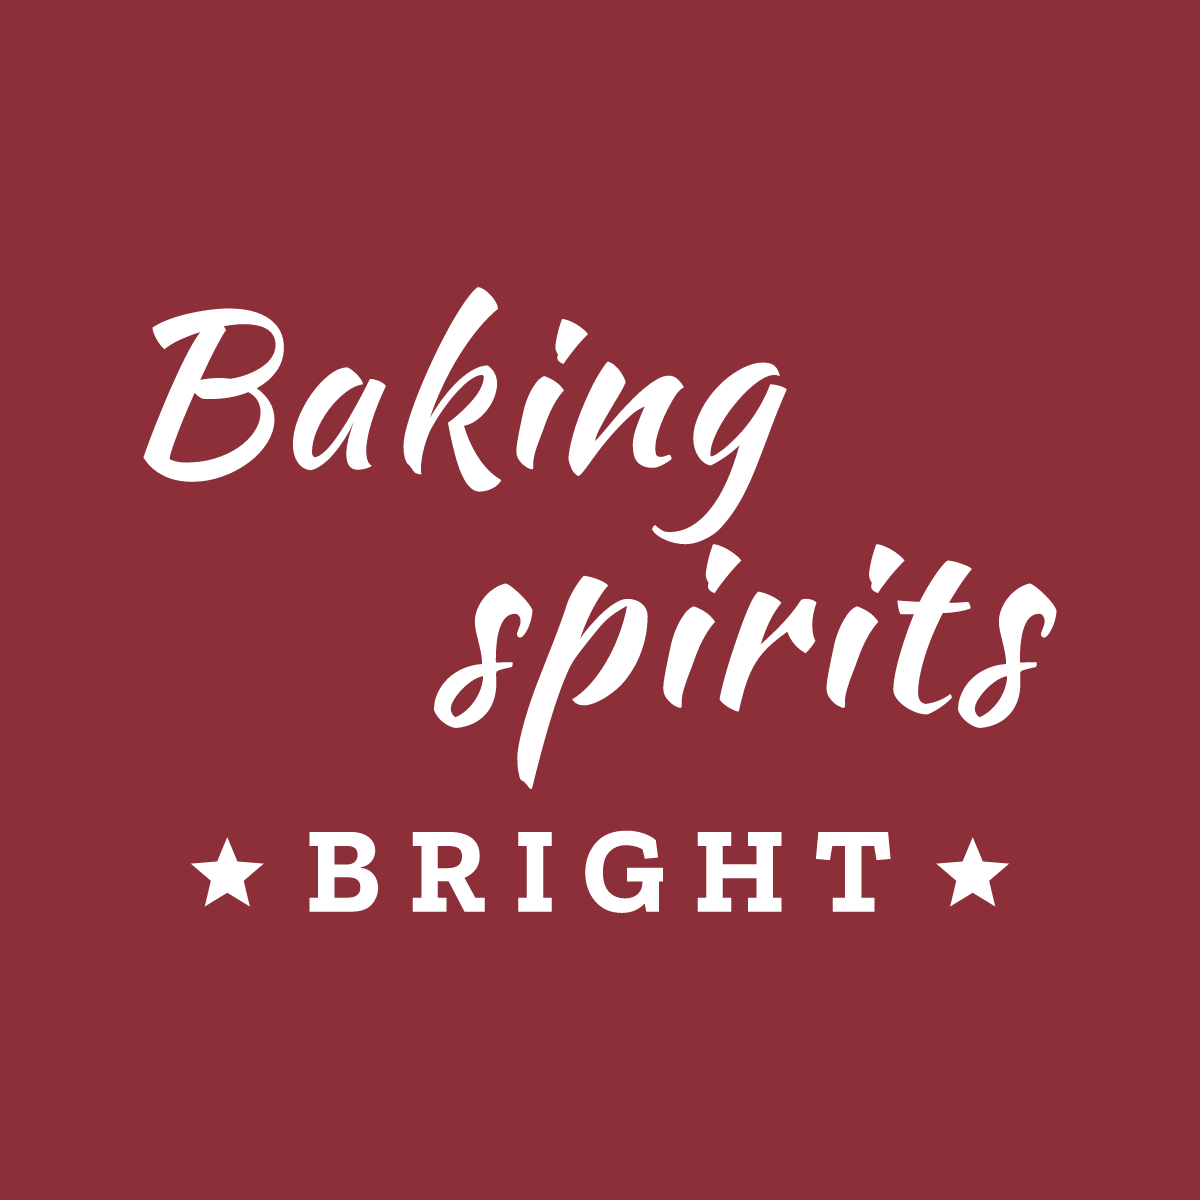
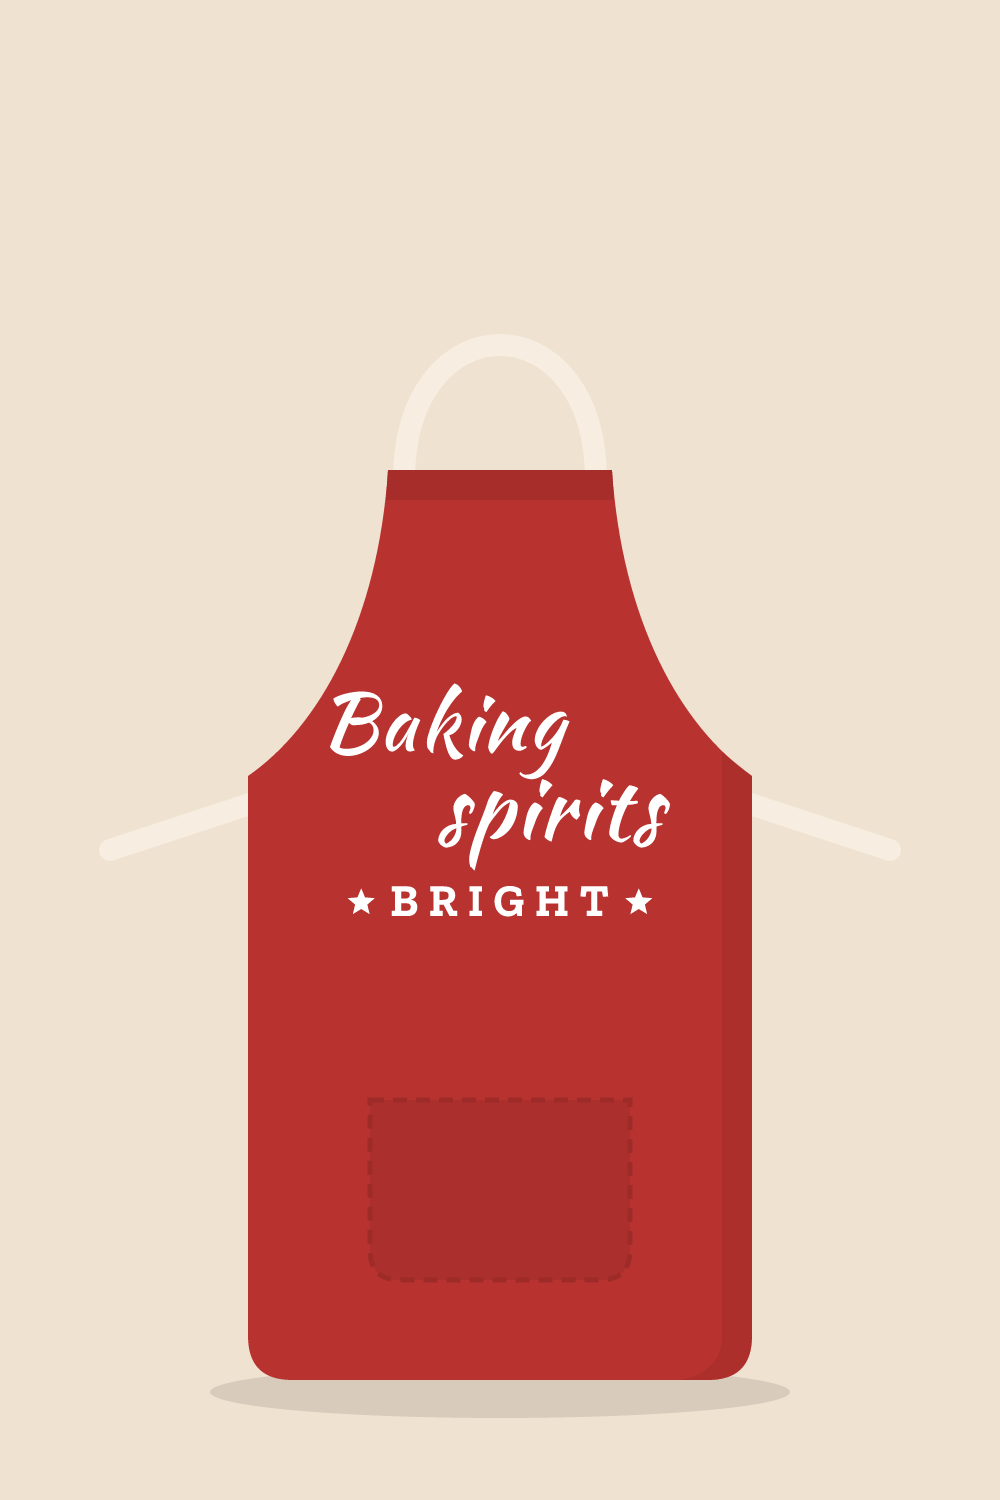
Sign-ups open soon
The free SVG and PNG for “Baking Spirits Bright” will be sent by email. We are still setting that up, so there is nothing to fill in yet.
The steps on this page are ready to read now. Come back to this page for the file once sign-ups open.
How to make it
- Measure both bibs at the top, where they are narrowest. Children’s aprons vary widely, so measure the one you have.
- Place the SVG on your canvas twice. Size one copy at about 7 to 9 inches wide for the adult apron. Size the other at 4 to 6 inches for the child’s, leaving a small margin on each side of the bib. The design is stepped: the first word sits to the left and the second to the right, with BRIGHT and two stars centered below.
- Check the child-size copy. If the thinnest strokes look hair-fine on screen, make it a little wider. Lines that thin are hard to weed and can peel in the wash.
- Mirror the mat. Arrange both copies on one sheet of HTV if they fit, and cut with the carrier side down using your vinyl’s iron-on setting.
- Weed the large design first to learn where the tricky spots are, then the small one. Cut the carrier sheet apart between the two.
- Pre-press each bib. Position the adult design with its top edge 2 to 3 inches below the top of the bib. On the child’s apron, about 1.5 inches down is usually right. Center the whole design on the bib, not either script word.
- Cover and press one apron at a time, following the heat guide for your vinyl. Peel each carrier at the stage the guide gives.
Tips
- For two colors, cut the whole phrase once in each color and weed away the words you do not want from each sheet. Press the first color briefly, peel, add the second and finish with a full press. Check your vinyl guide for its layering advice.
- White lettering is the easiest to read on red or green. Red on cream gives a softer, vintage look.
- Child aprons often have a pocket across the middle. Keep the design on the bib above it. Pressing over a pocket seam leaves gaps.
- Hook-and-loop neck closures and plastic buckles can melt. Keep them well away from the heat.
FAQ
How small can the design go for a toddler apron?
About 4 inches wide is a practical lower limit for this three-word phrase. Below that, the letters get fiddly to weed and the vinyl has little surface to hold on with. Measure the bib and go as wide as it allows.
Can a name be added to each apron?
Yes. Type the names in your cutting software, set them under the phrase or on the pocket, and mirror them with everything else. A name on the pocket should sit in the flat middle, clear of the stitched edges.
What is the right way to wash the aprons after baking?
Shake off the flour and let any dough dry and brush away first. Once the vinyl has set for a day, wash in cool water with the bib folded in on itself, and tumble dry low. If you iron the apron, do it from the back or cover the lettering with parchment.