'Tis the Season Reusable Gift Tote (Free SVG for Cricut)
Turn a plain canvas tote into a reusable Christmas gift bag with the free 'Tis the Season SVG. Dark green iron-on, placement and keeping the apostrophe.
- Skill level
- Beginner
- Time
- 40 minutes
- Made on
- Tote bag
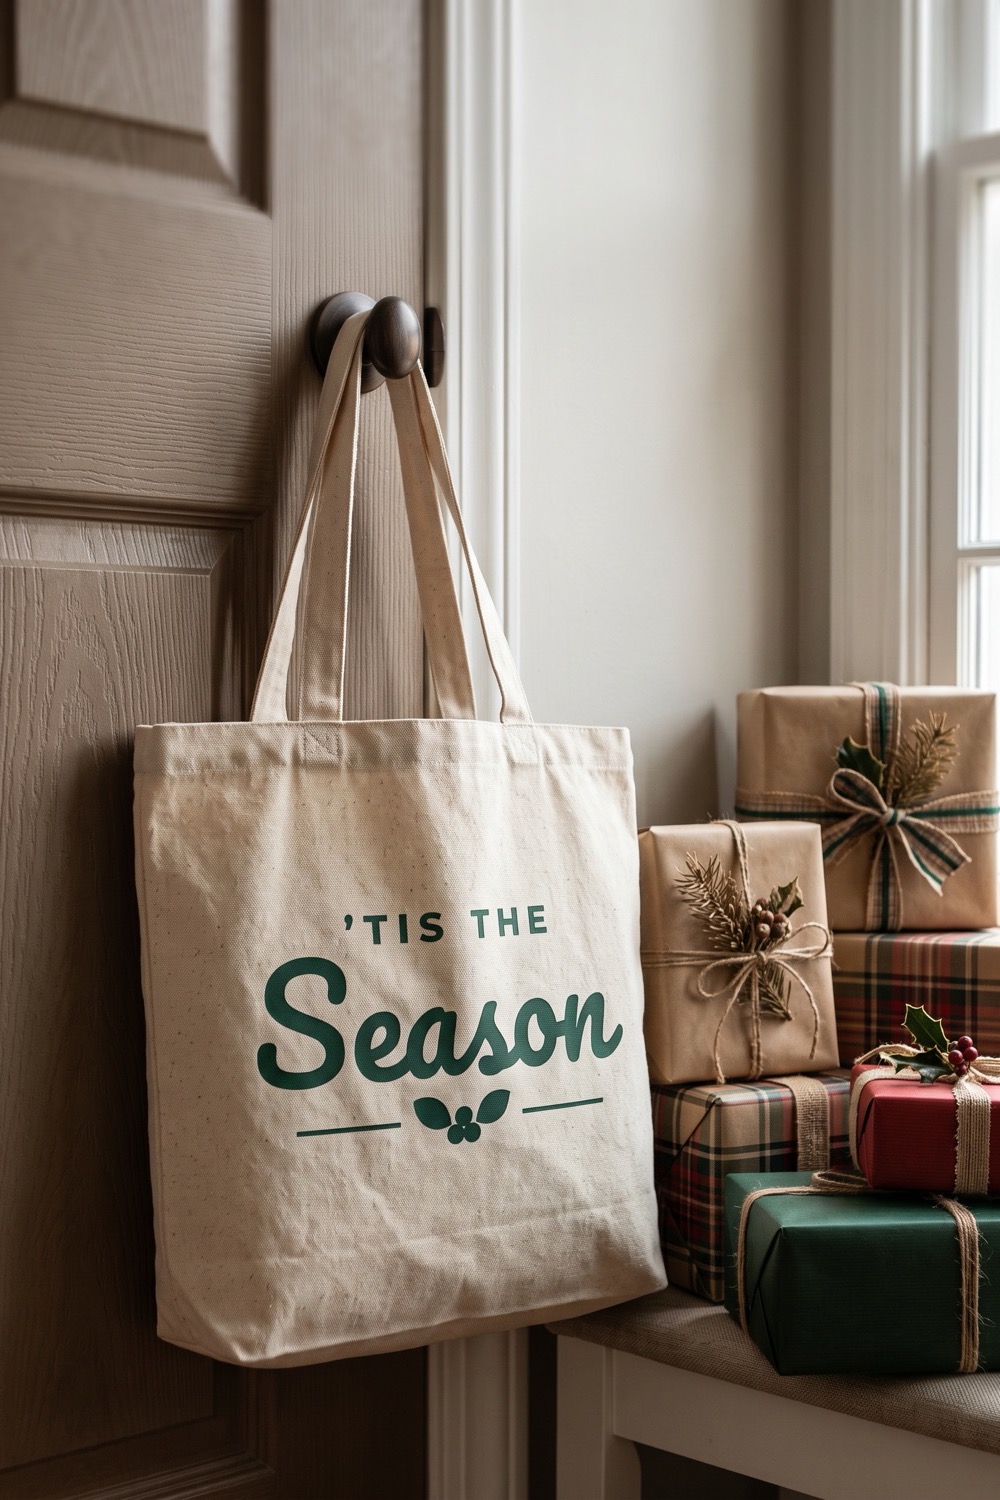
A ‘Tis the Season tote wraps a gift with no paper or tape, and then the bag is part of the present. Fill one with a bottle or baked goods and hand it over as it is. Our picture shows dark green vinyl on a natural canvas bag. The design has a small top line, a large script word and a holly sprig between two thin rules. Weed slowly around the apostrophe and the two rules, which are the pieces most easily lost.
What you need
- Natural canvas tote bag plain cotton canvas, about 15 x 16 in
- Heat transfer vinyl (HTV), dark green one 12 x 12 in sheet; deep red also suits natural canvas
- Cutting machine and mat Cricut or Silhouette
- Weeding hook or tweezers tweezers help with the apostrophe
- Heat press or iron set by the vinyl maker's guide
- Cardboard or pressing pad a flat insert sized to the bag
- Parchment paper one sheet
- The free “'Tis the Season” cut file sign-ups for the file open soon


Sign-ups open soon
The free SVG and PNG for “'Tis the Season” will be sent by email. We are still setting that up, so there is nothing to fill in yet.
The steps on this page are ready to read now. Come back to this page for the file once sign-ups open.
How to make it
- Press the empty bag flat and run a lint roller over the front. Loose threads trapped under vinyl stay there for good.
- Measure the front of the bag and size the SVG. A width of 8 to 10 inches suits a standard tote. For a narrow bottle bag, measure the panel and leave about an inch on each side.
- Mirror the design. On screen, the apostrophe should now sit at the right-hand end of the top line.
- Cut the HTV with the carrier side down, using the iron-on material setting that matches your vinyl.
- Weed the background. Go slowly around the apostrophe at the start of ‘Tis. It is a tiny free-floating piece, and it tends to lift away with the waste vinyl. Take the same care with the two thin rules beside the holly.
- Put a piece of cardboard or a pressing pad inside the tote so the front lies flat and the back seam does not print through.
- Pre-press the panel briefly, then position the design in the middle of the panel or a little below it, as in our picture. Check it against the top hem of the bag instead of the handles, which are often sewn on unevenly.
- Cover with parchment and press with firm pressure for the time and temperature in your vinyl’s heat guide. Peel the carrier warm or cool as that guide directs.
Tips
- Before pressing, compare the weeded design with the picture on your screen. The mark in front of the T is the piece most often missing.
- The top line is much smaller than the script word below it. At 8 inches wide its capitals are roughly half an inch tall, so do not size the design much smaller than that.
- Dark green and deep red both hide the flecks in natural canvas. Pale colors such as gold or white get lost on it.
- To give the bag as wrapping, tie the handles together with ribbon and add a paper tag. The bag stays reusable and nothing needs to be cut open.
FAQ
What if the apostrophe is lost while weeding?
Cut a new one. Send the mirrored design to a scrap of the same vinyl, then weed away everything except the apostrophe. Place it by eye with tweezers, using your screen as the guide, and press it under parchment.
Does iron-on vinyl work on a polyester or non-woven gift bag?
Be careful. Many cheap reusable shopping bags are made of non-woven plastic fiber that melts under an iron. Use a cotton or canvas bag unless your vinyl maker lists a low-heat product for that exact material.
Can the bag be washed if something spills in it?
Yes, a day or more after pressing. Turn it inside out, wash it cool on a gentle cycle and air dry. Natural canvas can shrink, so pull it back into shape while it is damp.