Oh What Fun Glitter Christmas Shirt (Free SVG Cut File)
Cut the free Oh What Fun SVG from glitter heat transfer vinyl for a sparkly Christmas shirt. Includes sizing, weeding help and glitter-specific tips.
- Skill level
- Easy
- Time
- 45 minutes
- Made on
- Shirt
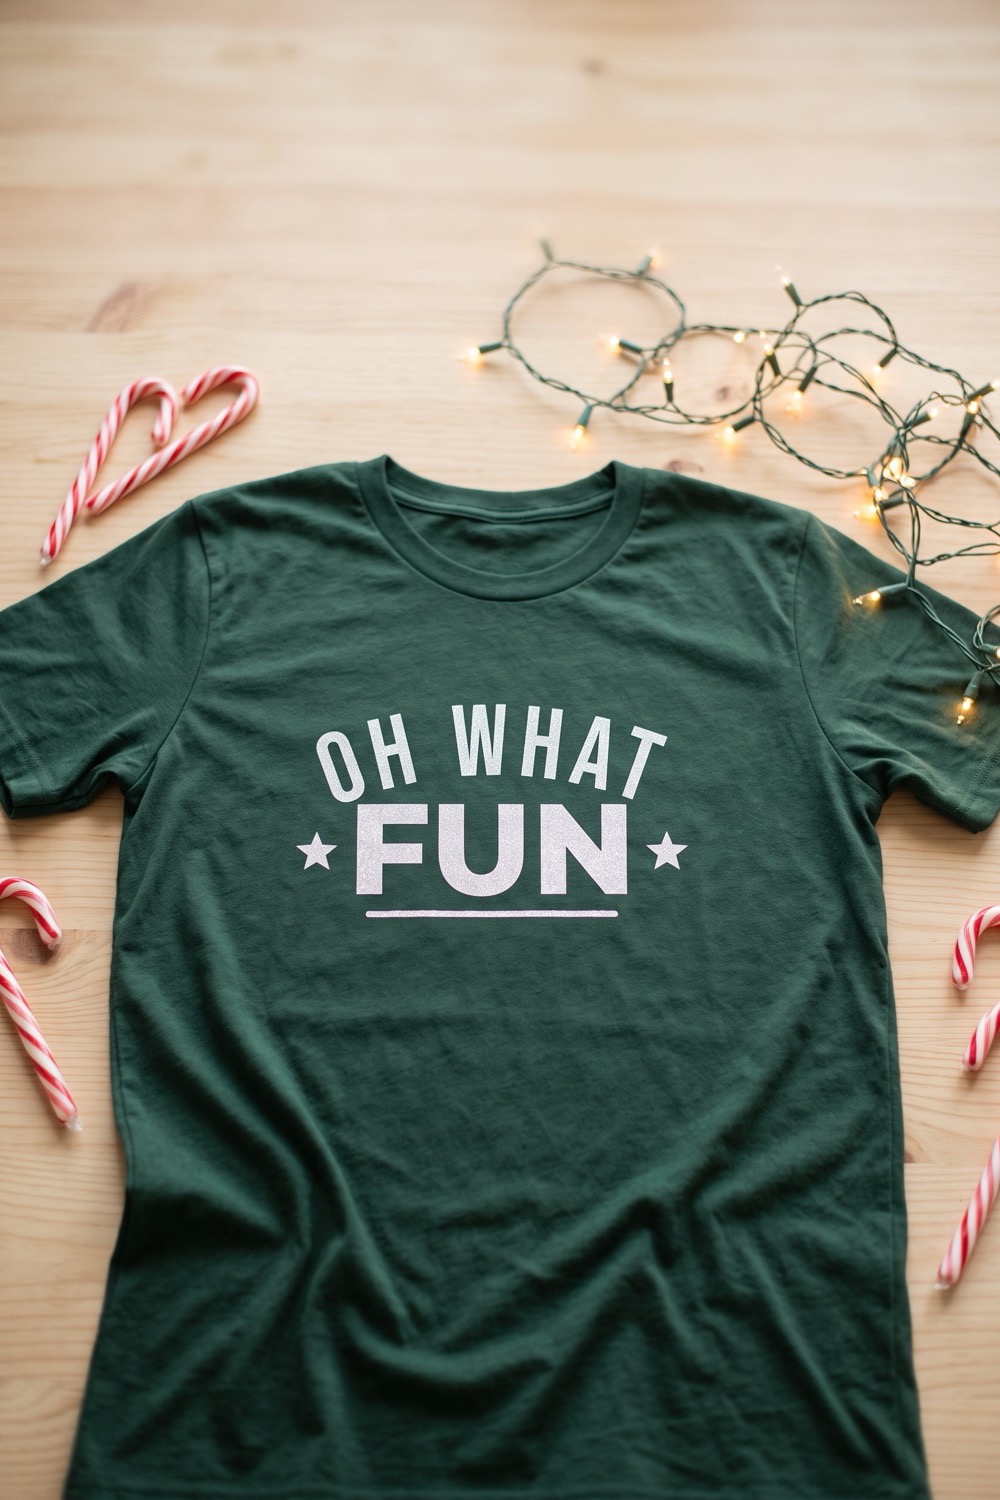
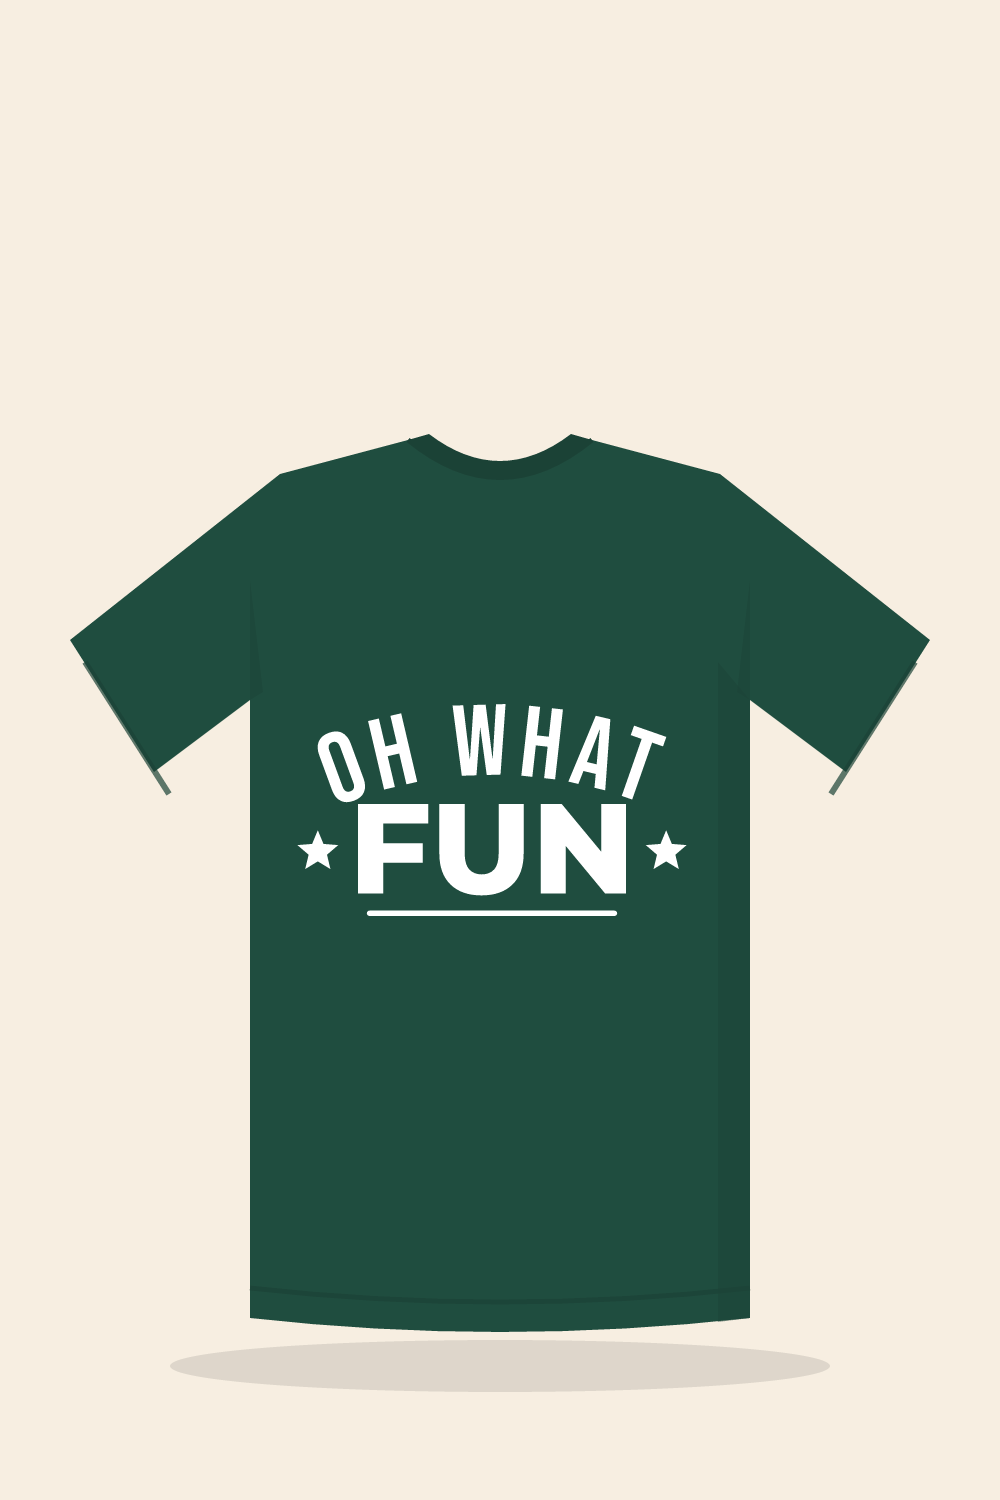
Oh What Fun is a three-word phrase that suits glitter vinyl. The big word at the bottom is bold enough to carry the sparkle. In our picture it is white on a dark green tee. This version is for anyone who has pressed plain iron-on once or twice and wants to try a specialty vinyl. Glitter is thicker than plain HTV and hides its cut lines, so the cutting and weeding steps change a little. Wear the shirt to a cookie swap or on Christmas morning.
What you need
- T-shirt or long-sleeve tee dark green in our picture; cotton or a cotton blend, washed
- Glitter heat transfer vinyl white or silver on a dark shirt, red or gold on a light one
- Cutting machine and standard grip mat a clean, sticky mat holds stiff glitter vinyl flat
- Weeding hook and a bright lamp cut lines are hard to see in glitter
- Heat press or iron set to your vinyl maker's guide
- Parchment paper or a pressing sheet keeps glitter texture off the iron plate
- The free “Oh What Fun” cut file sign-ups for the file open soon

Sign-ups open soon
The free SVG and PNG for “Oh What Fun” will be sent by email. We are still setting that up, so there is nothing to fill in yet.
The steps on this page are ready to read now. Come back to this page for the file once sign-ups open.
How to make it
- Open the SVG in your cutting software. Measure across the chest of your shirt and size the phrase to about 9 to 11 inches wide for adults. Leave at least 2 inches of plain shirt on each side.
- Turn on mirror for the mat. Glitter vinyl follows the same rule as plain HTV, and the phrase should look reversed on screen.
- Choose the glitter iron-on setting in the software. Glitter vinyl is thicker than the plain kind, so the regular iron-on setting often cuts too lightly.
- Place the vinyl glitter side down on the mat, with the clear carrier against the mat surface. Cut a small test shape first, then the design.
- Weed under a strong light. Bend the sheet gently and the cut lines will show up as fine cracks in the glitter. Remove the background, then the two letter centers: the O in OH and the A in WHAT. The big word has none. The two stars and the underline are loose pieces.
- Pre-press the shirt briefly to flatten it and dry it out. Position the design about 3 inches below the collar. The top line is arched, so use the straight underline to check that it sits level.
- Cover and press using the heat, time and pressure your glitter vinyl calls for. Specialty vinyls often differ from plain ones, so look at the guide for your exact product.
- Let the carrier reach the peel temperature given in the guide, then remove it slowly at a low angle.
Tips
- Do not layer other vinyl on top of glitter. The rough surface gives the next layer nothing smooth to grip. For a two-color look, cut the design from two sheets, keep the top line from one and the big word from the other, and press them without overlap.
- If weeding feels like guessing, rub a little baby powder or cornstarch over the back of the cut. It settles into the lines and shows where they are.
- Glitter carrier sheets are often very sticky. That helps with placement, but press the design down lightly until you are sure of the spot.
- A mat that has lost its grip lets stiff vinyl shift during the cut. Tape the sheet edges down with painter’s tape when the mat is worn.
FAQ
Is glitter vinyl harder to cut than regular iron-on?
It is a little harder on the blade and harder to see, but the steps are the same. The right material setting and a test cut solve most problems. If the blade drags or skips, clean off any glitter stuck to its tip.
Will the glitter flake off in the wash?
Glitter HTV has the sparkle sealed into the film, so it does not shed like loose craft glitter. Wait a day after pressing. Then wash the shirt inside out in cool water and dry it on low.
Can this design go on a sweatshirt instead?
Yes. Size it the same way and slide a pressing pillow or folded towel inside so thick seams drop away from the press area. Fleece holds moisture, so give it a slightly longer pre-press before you place the design.