Let It Snow Christmas Mug with Vinyl (Free SVG for Cricut)
Make a Let It Snow mug with permanent adhesive vinyl and this free SVG. A beginner guide to sizing, transfer tape on a curve and hand-wash care.
- Skill level
- Beginner
- Time
- 30 minutes
- Made on
- Mug
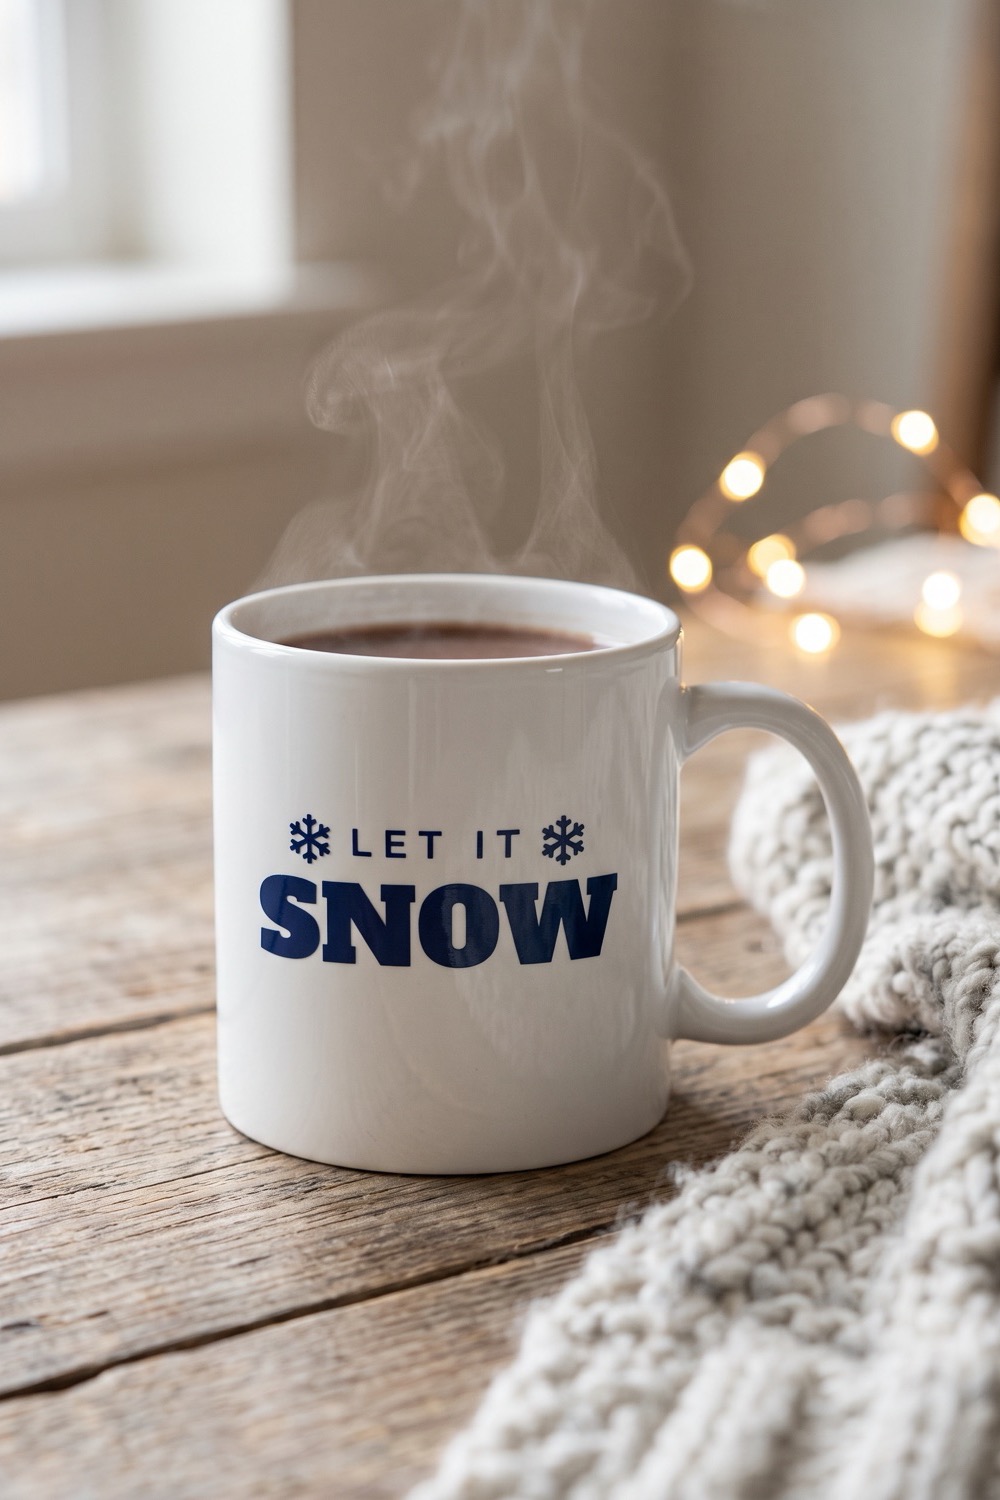
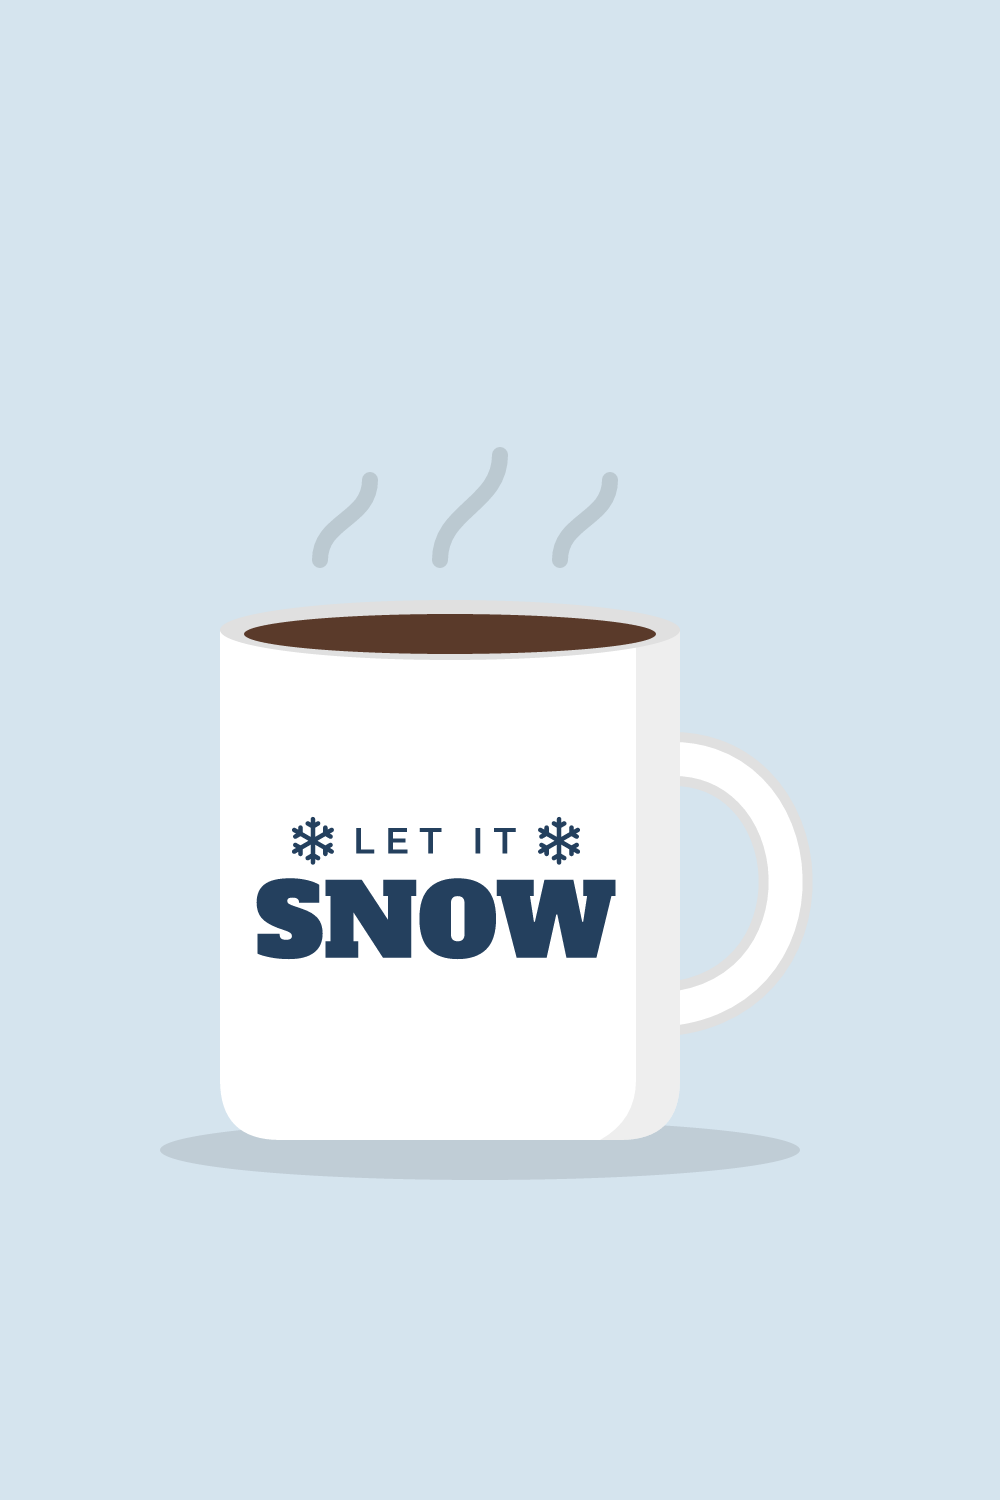
A Let It Snow mug takes one scrap of vinyl and about half an hour, and it turns a plain mug into a gift for a teacher or a coworker. In our picture the lettering is navy on a white mug. It is a gentle first try at adhesive vinyl. You do have to lay a flat decal onto a curved surface, and steps 7 and 8 show how to do that without wrinkles.
What you need
- Plain ceramic mug white in our picture; smooth glaze and straight sides
- Permanent adhesive vinyl navy in our picture; any dark color shows on a white mug
- Transfer tape standard tack; a piece slightly larger than the design
- Cutting machine and mat Cricut or Silhouette
- Weeding hook and scraper an old gift card works as a scraper
- Rubbing alcohol and a lint-free cloth to clean the glaze before applying
- The free “Let It Snow” cut file sign-ups for the file open soon

Sign-ups open soon
The free SVG and PNG for “Let It Snow” will be sent by email. We are still setting that up, so there is nothing to fill in yet.
The steps on this page are ready to read now. Come back to this page for the file once sign-ups open.
How to make it
- Measure the flat-looking area on the side of your mug, between the handle and the far side, and from just under the rim to where the base curves in. On a standard 11 ounce mug, a design about 3 inches wide and no more than 3 to 3.5 inches tall fits well. This design is wide and short. At 3 inches across it is only about 1.25 inches tall.
- Upload the SVG and size it. Do not mirror it. Adhesive vinyl is cut face up and reads the right way round on the mat.
- Place the vinyl on the mat with the colored side up and the paper backing down. Choose the permanent vinyl setting in your cutting software and cut.
- Weed away the background. Only the O in SNOW has a letter center, but each of the two snowflakes has small notches between its arms. At mug size they are small, so use the tip of the hook under good light. A notch that will not come out can stay. The snowflake still reads as one.
- Wipe the mug with rubbing alcohol and let it dry. After this, hold the mug by the handle and the inside so finger oils stay off the glaze.
- Lay transfer tape over the design and rub it down firmly with the scraper. Peel the paper backing away at a sharp angle. The letters should stay on the tape.
- Snip the edges of the transfer tape between the letters, toward the design but not into it. These cuts let the tape bend around the curve without wrinkling.
- Hold the tape in a loose U shape and touch the middle of the design to the mug first. Smooth outward to the left and right. Burnish each letter, then peel the tape back slowly, keeping it low against the mug.
Tips
- Keep the lettering at least half an inch below the rim, where lips do not touch it.
- Right-handed drinkers see the side of the mug with the handle on the right. Place the design there, or make two decals and put one on each side.
- If a letter lifts with the tape, press the tape back down, rub that spot again and peel more slowly.
- Small air bubbles usually flatten out by themselves within a few days. Prick a stubborn one with a pin and press it down.
FAQ
Is a vinyl mug dishwasher safe?
No. Treat it as hand-wash only. Dishwasher heat and strong detergent loosen the adhesive, and letters start to peel at the edges. Wash by hand with a soft sponge, do not soak it, and avoid scrubbing over the design.
How soon can the mug be used?
Let the adhesive cure before the first wash. A few days is the usual guidance, but check the instructions for your vinyl. Until then you can display it or wrap it.
Does it matter which type of adhesive vinyl we buy?
Yes. Use vinyl labeled permanent. Removable vinyl is meant for walls and temporary decor, and it will slide off a mug that gets washed. Glossy permanent vinyl is the common choice for drinkware.