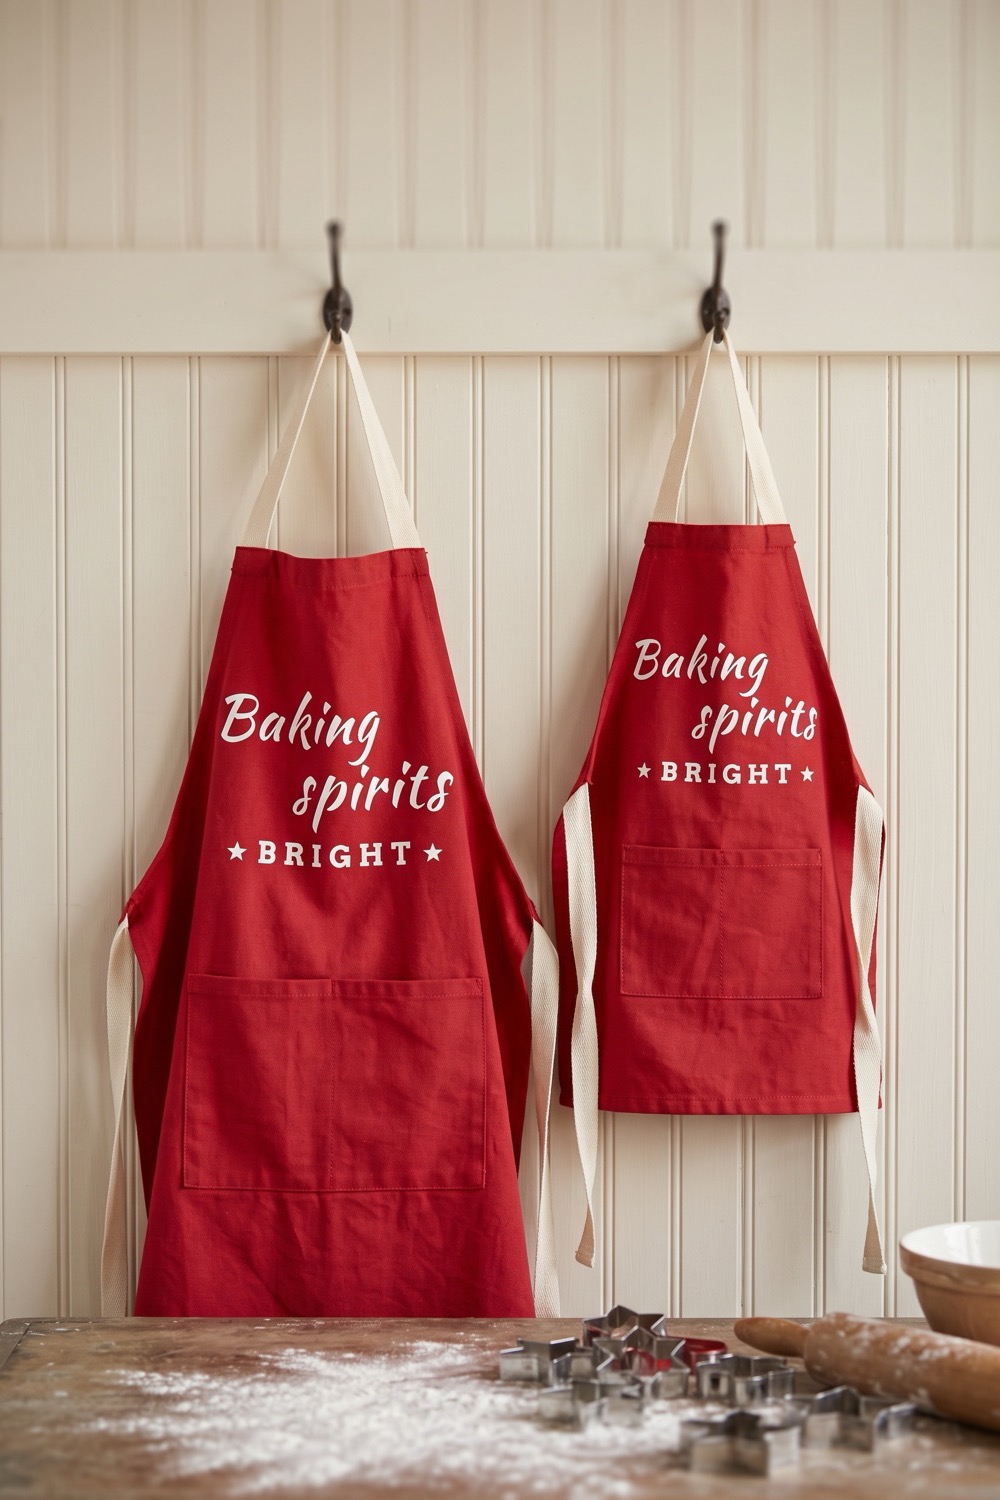
Merry Everything Christmas Cards (Free SVG File)
Cut the free Merry Everything SVG from black and gold cardstock and glue it onto 5 x 7 card fronts. A template method for a whole stack of cards.
- Skill level
- Easy
- Time
- 1 hour
- Made on
- Card
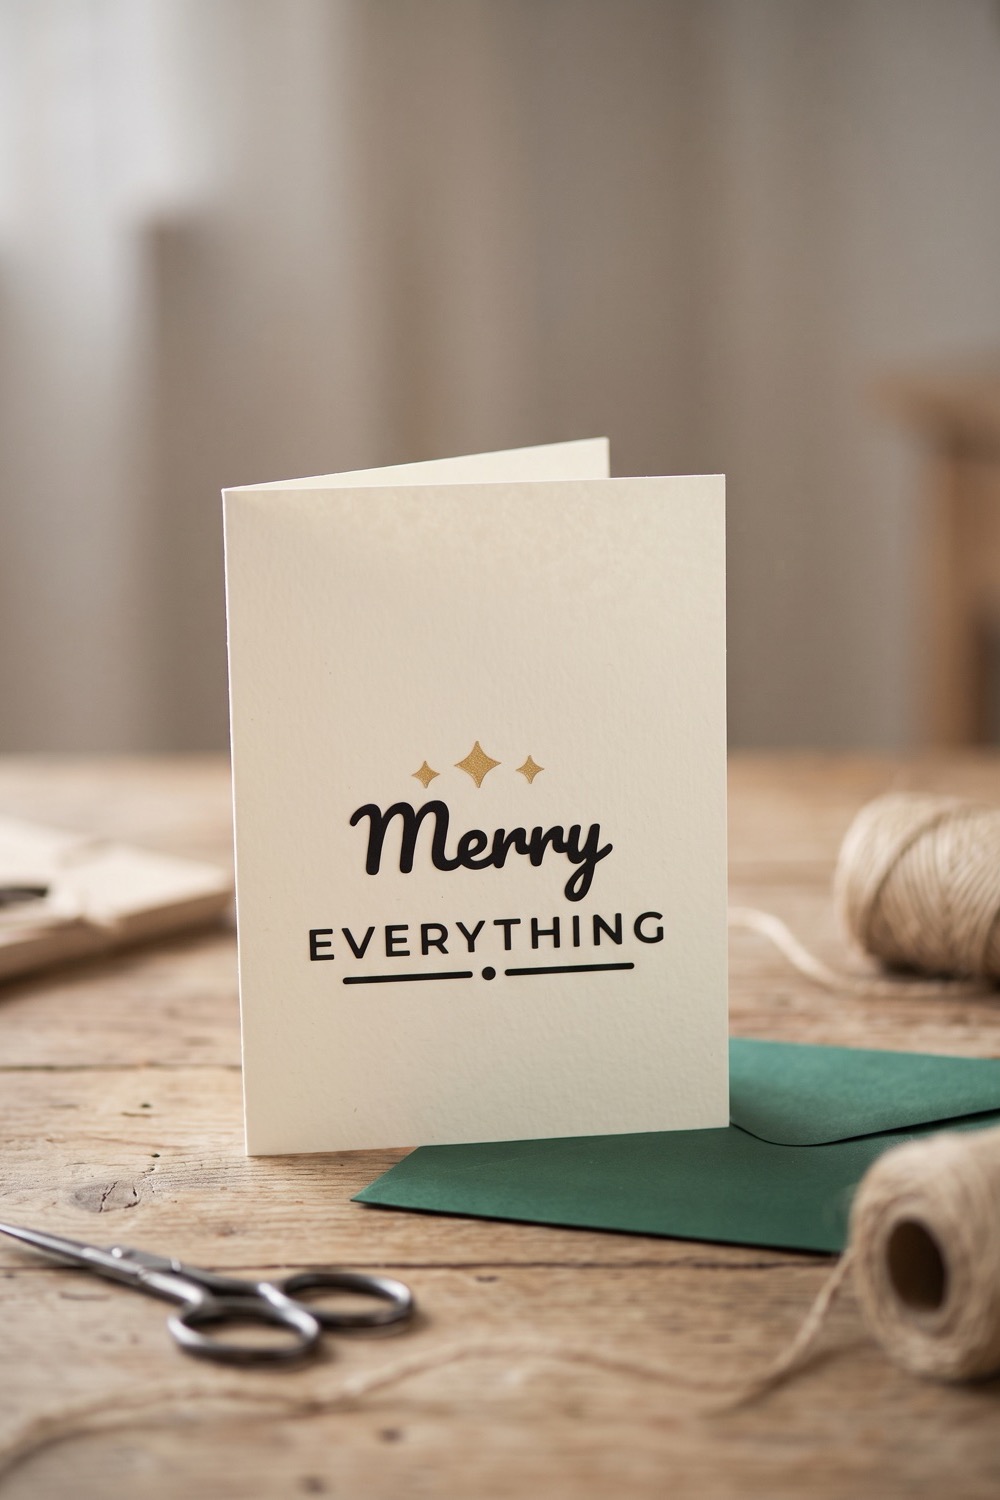
Merry Everything is the card for a long list. It covers Christmas, New Year and everyone in between, so one design goes to the whole address book. The file has three sparkles on top, the word Merry in script, a line of small capitals and a thin rule with a dot under them. Here you cut it from cardstock and glue it onto plain card fronts, black with gold sparkles as in our picture. The small capitals have fine strokes, so keep the design at the size it opens at.
What you need
- Blank folded cards, 5 x 7 in cream or white; the larger front keeps the lettering cuttable
- Black cardstock for the lettering solid-core, medium weight
- Gold cardstock a scrap for the three sparkles; foil or metallic finish
- Cutting machine and light grip mat the mat must be sticky enough to hold thin letters
- Weeding hook or spatula tool to lift letters off the mat without bending them
- Fine-tip liquid glue pen and low-tack tape glue for the letters, tape to hold the template
- Envelopes A7 envelopes fit a 5 x 7 in card; ours are dark green
- The free “Merry Everything” cut file sign-ups for the file open soon

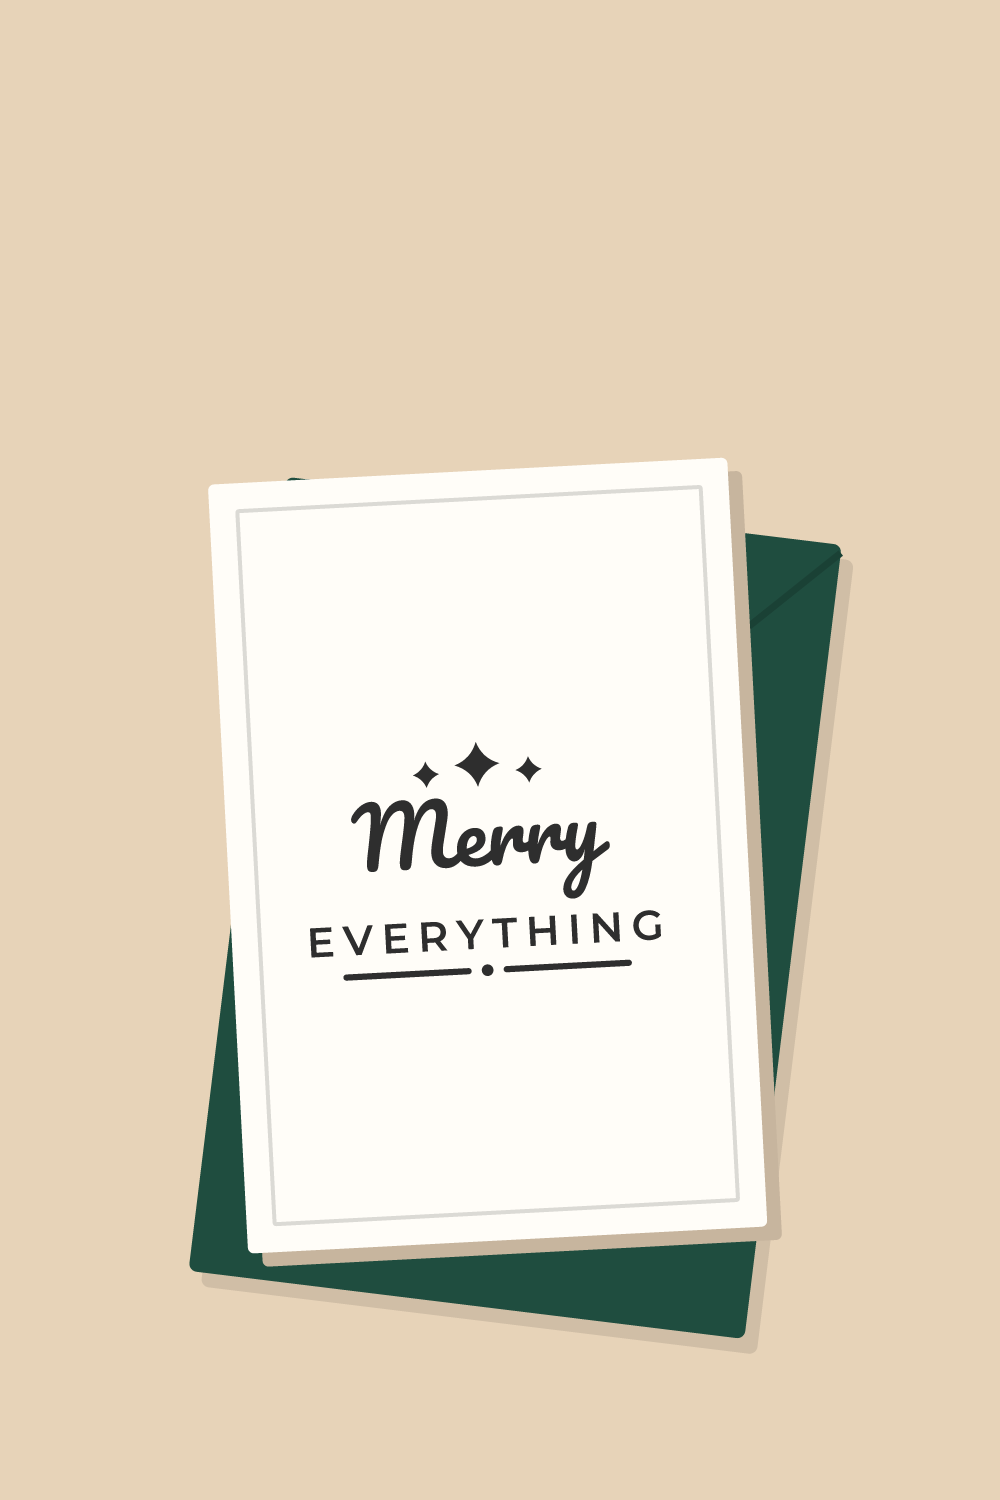
Sign-ups open soon
The free SVG and PNG for “Merry Everything” will be sent by email. We are still setting that up, so there is nothing to fill in yet.
The steps on this page are ready to read now. Come back to this page for the file once sign-ups open.
How to make it
- Keep the lettering at the size the file opens at, about 4.5 inches wide, which is made for a 5 x 7 inch card. Check the number on your screen. At that width the capitals in the second line are about a third of an inch tall, with strokes near a sixteenth of an inch. Going much smaller makes them too fine to cut cleanly from paper.
- Draw a rectangle the same size as the card front in your cutting software. Center the design inside it and attach the two, so the lettering is cut out of the middle of the rectangle.
- Duplicate that rectangle. A 12 x 12 inch sheet holds two 5 x 7 inch panels side by side. A third does not fit, because the mat cuts only about 11.5 inches across.
- Load the black cardstock on the mat, good side up, with no mirroring. Select the cardstock setting for your paper. If the software offers a more intricate or slower cut for detailed shapes, use it.
- After cutting, lift each rectangle off the mat first. The letters stay stuck to the mat. Each rectangle is now a template, with openings where the pieces go.
- Lay a template over a card front, line up the edges and hold it with two small pieces of low-tack tape.
- Lift the letters with the spatula. Dot glue on the back of each one and drop it into its opening. The tiny middles of closed letters are waste and stay on the mat.
- Cut the design once more from gold and use only the three sparkles from it. Glue them into their openings, remove the template while the glue is wet, and press the card flat under clean paper until dry.
Tips
- The thin strokes of the small capitals are the delicate part of this file. The rule under them is a little thicker and lifts off the mat as two strips with a dot between.
- Slide the spatula under the thin capitals and lift each one whole. Do not pull a letter up by one end.
- A mat that is too sticky curls and rips paper. A mat that is too worn lets small letters slide during the cut. A light grip mat in good condition is the middle ground.
- For cards going in the mail, keep everything flat. Thick layers and foam dots can need extra postage.
FAQ
Can this go on a smaller A2 card?
Not well in paper. An A2 front is only 4.25 inches wide, so the design has to shrink a good deal to leave a margin. The strokes of the small capitals then become too fine to cut cleanly and tear as they leave the mat. For smaller cards, cut the design from adhesive vinyl and move it with low-tack transfer tape.
Do we have to use two colors?
No. Cut everything from one sheet and glue the sparkles in the same color as the words. The gold is only what our picture shows.
What if a letter tears?
Cut a spare. Keep one extra copy of the phrase on every mat for this reason. A small tear in the middle of a stroke can also be glued down flat and will not show once dry.