Peace Love Joy Red Paper Christmas Card (Free SVG for Cricut)
Cut the free Peace Love Joy SVG from red cardstock and glue it to a cream 5 x 7 card. One color, with a tape method that keeps the capitals evenly spaced.
- Skill level
- Easy
- Time
- 30 minutes
- Made on
- Card
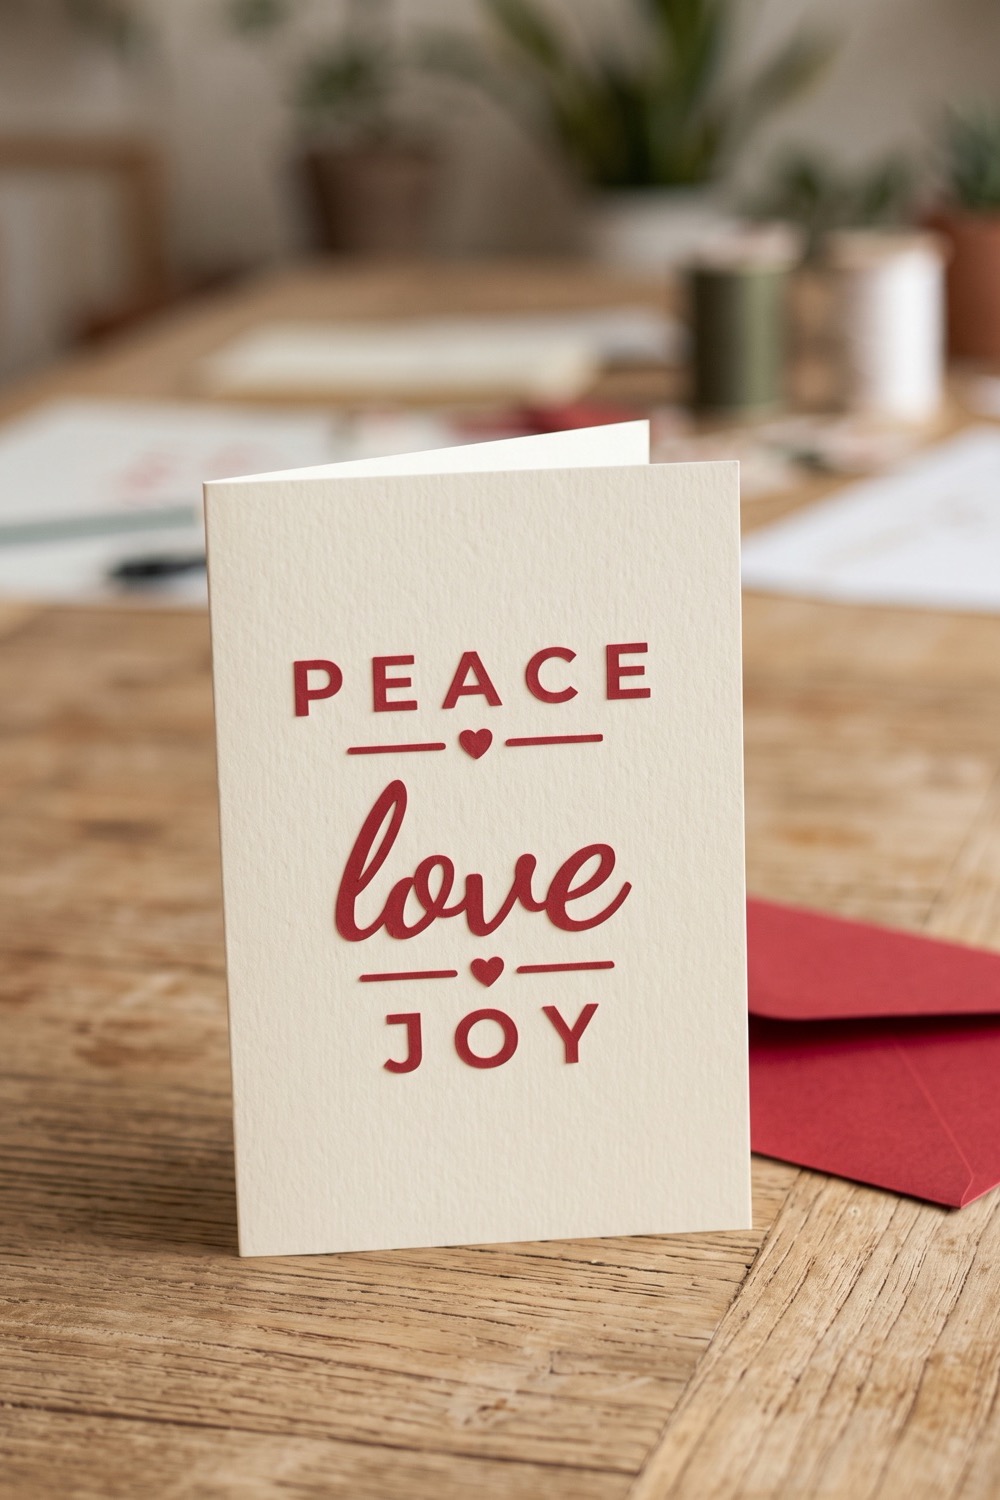
Peace Love Joy makes a clean, modern Christmas card in a single color. The words are cut from red cardstock and glued flat onto a cream card front, as in our picture, with a red envelope beside it. You need no vinyl and no heat, and one card takes about half an hour. The design is tall, with three stacked words and a small heart and two short rules between each pair. The capitals are all separate pieces, so the steps use tape to move them without losing their spacing.
What you need
- Red cardstock for the lettering solid-core, medium weight, matte; half a sheet per card
- Cream folded card, 5 x 7 in or cream cardstock to cut and fold your own base
- Cutting machine and light grip mat a gentler mat releases thin paper letters whole
- Low-tack transfer tape one piece a little larger than the design
- Fine-tip liquid glue pen a thin line on the back of each piece
- Weeding hook and tweezers for the letter centers and the small hearts
- Envelope A7 fits a 5 x 7 in card; red in our picture
- The free “Peace Love Joy” cut file sign-ups for the file open soon

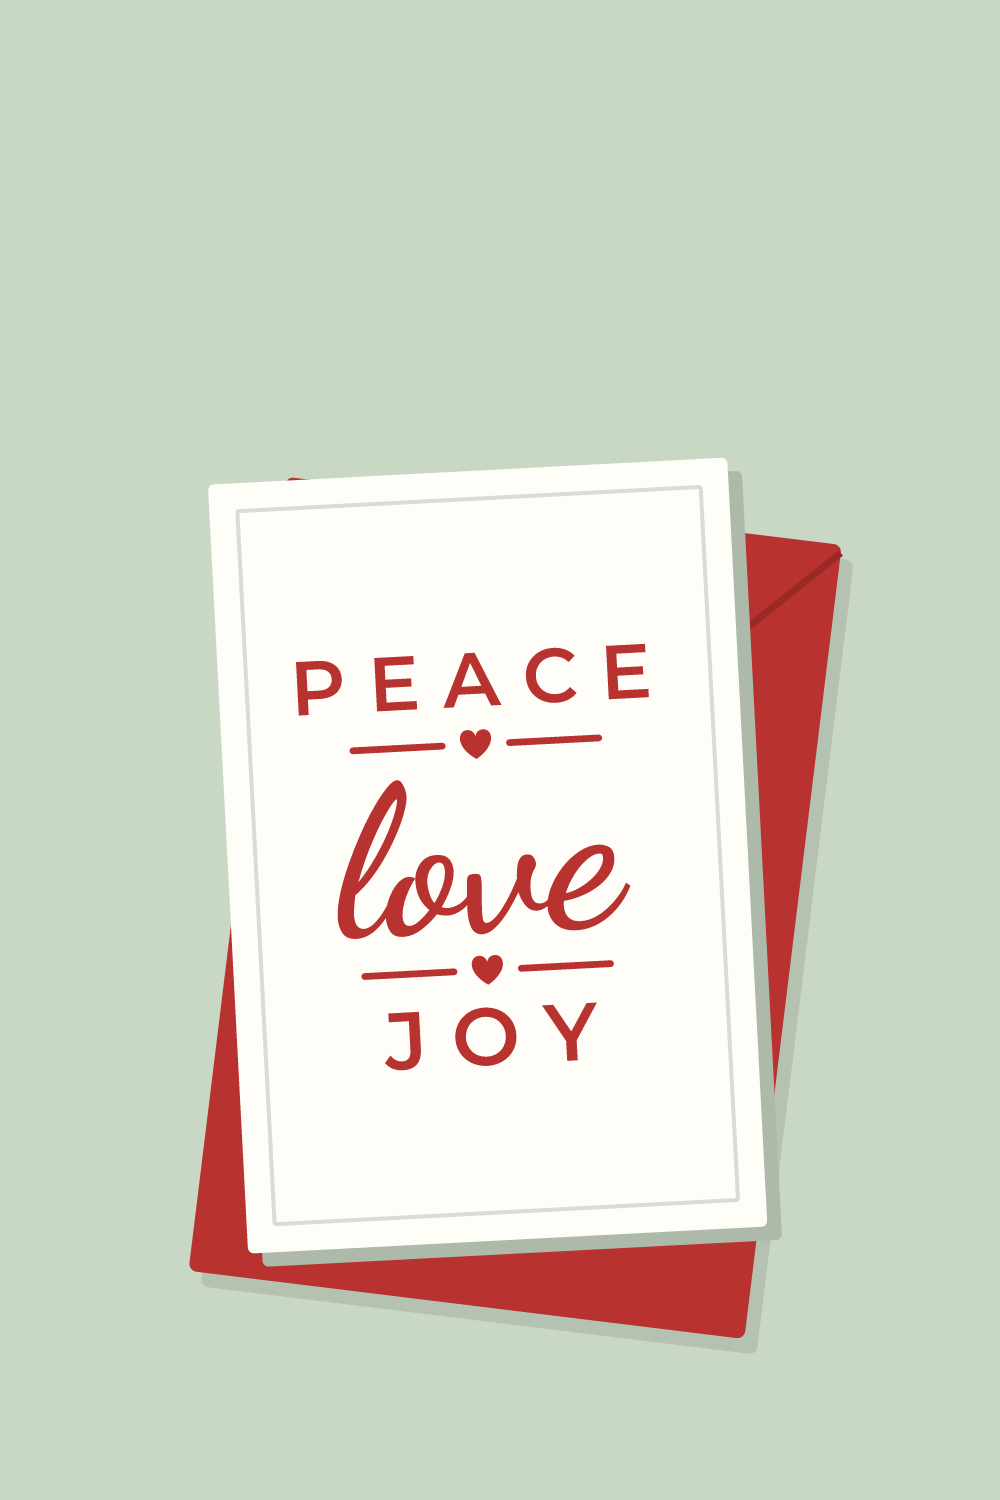
Sign-ups open soon
The free SVG and PNG for “Peace Love Joy” will be sent by email. We are still setting that up, so there is nothing to fill in yet.
The steps on this page are ready to read now. Come back to this page for the file once sign-ups open.
How to make it
- Open the SVG in your cutting software and check the size. It is about 4.5 inches wide and 5.3 inches tall, made for a 5 x 7 inch card front. Keep it there. Going much smaller makes the thin strokes of the capitals fragile in paper.
- Do not mirror anything. Put the red cardstock on a light grip mat with its best side up, and choose the cardstock setting that matches your paper weight.
- Leave everything on the mat after the cut. Peel away the surrounding sheet slowly, holding down any letter that starts to lift with it.
- Pick out the seven letter centers with the hook: the P and the A in PEACE, the O in JOY, and four in the script word. Those are the long loop of the l, the pocket where the l joins the o, the o and the e. They are waste.
- Count what is left. The script word love is welded, so it is one piece. PEACE and JOY are eight separate capitals, and there are two hearts and four short rules. That makes fifteen pieces.
- Lay low-tack transfer tape over all of them and rub lightly. Turn the mat face down and bend it away from the tape. The pieces come up together, still spaced as they were cut.
- Turn the tape sticky side up. Run a thin line of glue along the back of each piece, keeping it away from the edges.
- Hold the tape over the closed card, center the design on the front and lower it. Press each piece through the tape with a fingertip.
- Wait a minute for the glue to grab. Peel the tape back low and slow, pressing down any piece that tries to follow it. Dry the card flat under a clean sheet of paper and a book.
Tips
- Test the tape on a scrap of your red cardstock. If it lifts the paper surface, press the tape onto clean fabric once or twice to weaken it.
- Use solid-core cardstock. White-core paper shows a pale line around every red letter.
- Without transfer tape, tape the leftover red sheet over the card front and glue each piece into its own opening, then lift the sheet away.
- The hearts and rules are the smallest pieces. Move a loose one with tweezers.
FAQ
Will the design fit a smaller A2 card?
Not at the size it opens at. An A2 card is 4.25 x 5.5 inches folded, and the design is taller than that front once you allow a margin. Shrinking it far enough to fit leaves the capitals and the rules too thin to lift off the mat in one piece. Stay with a 5 x 7 inch card.
Can the card be made in more than one color?
Yes. Our picture uses red only, which is the fastest version. For two colors, cut the design once from each sheet and take the words from one and the hearts from the other.
How do we make our own card base?
Cut cream cardstock to 10 x 7 inches and score it down the middle with a scoring tool or the back of a butter knife against a ruler. Fold along the score and crease it firmly. Glue the lettering on after folding, so the design is centered on the finished front.