Give Thanks Kitchen Tea Towel (Free SVG for Cricut)
Make a Give Thanks tea towel for Thanksgiving with iron-on vinyl and this free SVG. Shows where to place the design so it faces out on the oven handle.
- Skill level
- Beginner
- Time
- 30 minutes
- Made on
- Tea towel
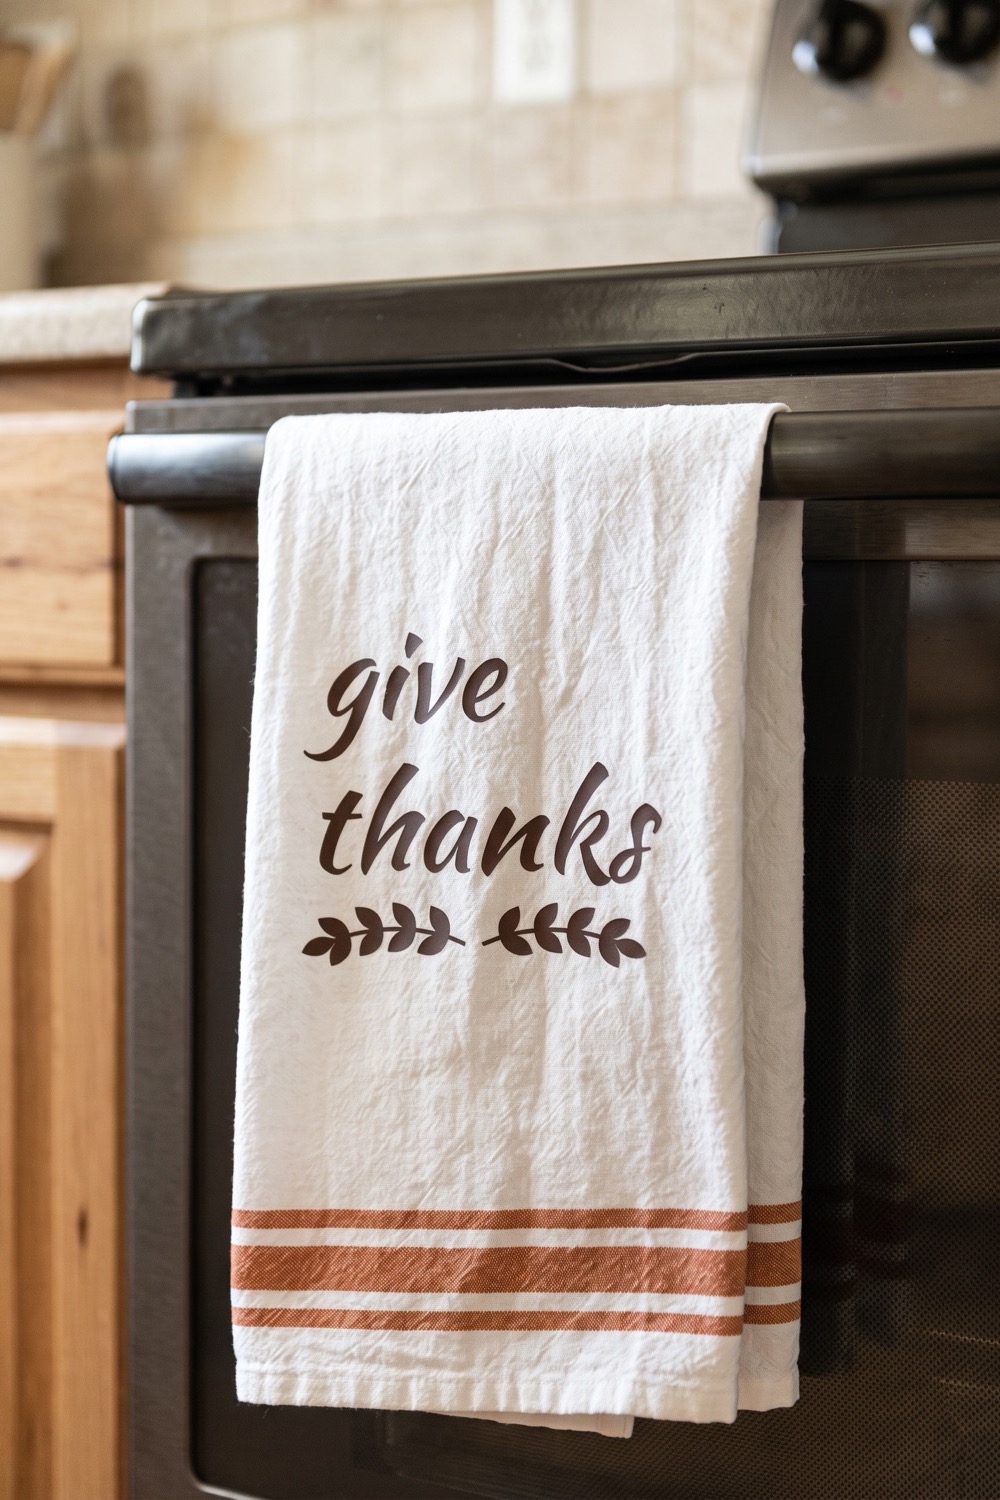
A Give Thanks tea towel is about the fastest Thanksgiving decoration you can make. Hang it on the oven handle and the kitchen looks ready for the holiday. A pair of them also makes an easy hostess gift. There is not much to cut or weed, only two script words with a pair of leaf sprigs under them. Placement takes more thought, because a towel hangs folded and the design has to land on the panel that faces out.
What you need
- Flour sack or flat-weave cotton tea towel white with a rust stripe in our picture; avoid terry and waffle textures
- Heat transfer vinyl (HTV) a half sheet in dark brown, rust or black
- Cutting machine and mat Cricut or Silhouette
- Weeding hook two short words and two leaf sprigs, so weeding is quick
- Heat press or iron use the vinyl maker's heat guide
- Parchment paper thin towels scorch without a cover
- The free “Give Thanks” cut file sign-ups for the file open soon

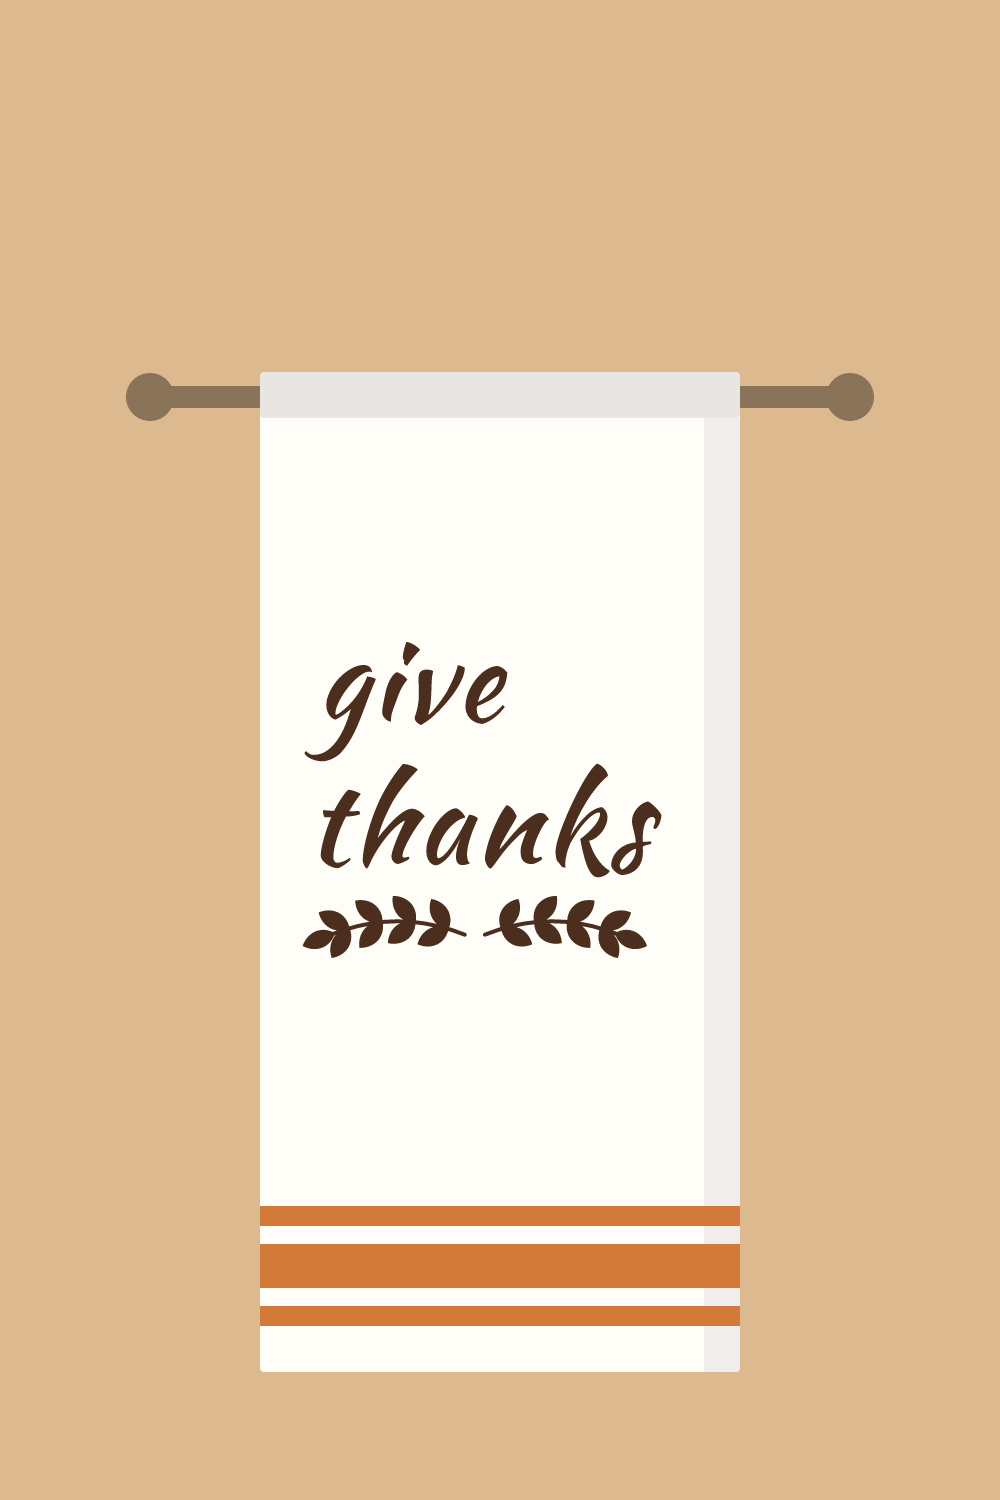
Sign-ups open soon
The free SVG and PNG for “Give Thanks” will be sent by email. We are still setting that up, so there is nothing to fill in yet.
The steps on this page are ready to read now. Come back to this page for the file once sign-ups open.
How to make it
- Wash, dry and iron the towel. Flour sack towels shrink and soften on the first wash, and they come out of the package heavily creased.
- Fold the towel the way it will hang. Most people fold it in thirds lengthwise, then drape it over the oven handle. Mark the middle of the visible front panel with a pin.
- Measure that panel. It is usually 7 to 9 inches across, so a design 5 to 7 inches wide fits well. Size the SVG to your own towel. The design is nearly as tall as it is wide, so check the height against the panel too.
- Mirror the design in your cutting software, then cut it from HTV with the carrier side down on the mat. Use the iron-on setting for your vinyl.
- Weed away the background and the centers of the closed letters.
- Unfold the towel and lay it flat, keeping the pin in place. Pre-press the area. Thin cotton dries out almost instantly.
- Position the design centered on the pin, with its lower edge 2 to 3 inches above the bottom hem. Check that it reads the right way up when the hem is nearest to you.
- Cover with parchment and press according to your vinyl maker’s heat guide. Peel the carrier at the stage the guide recommends.
Tips
- Use the hem as your straight line. Measure up from it at both ends of the design, so the words sit parallel to the bottom edge.
- Flour sack cotton is thin, so heat reaches whatever is underneath. Press on a surface that can take it, never on a plastic table or a cutting mat.
- On a striped or bordered towel, measure up from the top of the stripe instead of the hem. Our picture shows the design well above the stripes, with a wide band of plain cloth between them.
- For a set of two, press the same phrase in two different fall colors.
FAQ
Can the towel still be used for drying dishes?
Yes, with a caveat. The vinyl area does not absorb water, and heavy daily use and hot washes will wear the design sooner. We suggest keeping a lettered towel for display and hand drying, and a plain one for the heavy work.
Why not use a terry or waffle towel?
HTV needs a fairly flat surface to bond to. On loops or deep waffle texture it only touches the high points, so it lifts quickly. A flat-weave cotton or linen-blend towel gives a much stronger hold.
How should it be washed?
Give the vinyl a day to set, then wash the towel on a cool or warm cycle with similar colors. Leave out fabric softener, which also makes towels less absorbent. Dry on low and iron from the back.