Thankful Grateful Blessed Wood Sign (Free SVG for Cricut)
Make a Thankful Grateful Blessed wood sign for fall with adhesive vinyl. Free SVG, board prep that helps vinyl stick, and the hinge method for stacks.
- Skill level
- Easy
- Time
- 1 hour
- Made on
- Sign
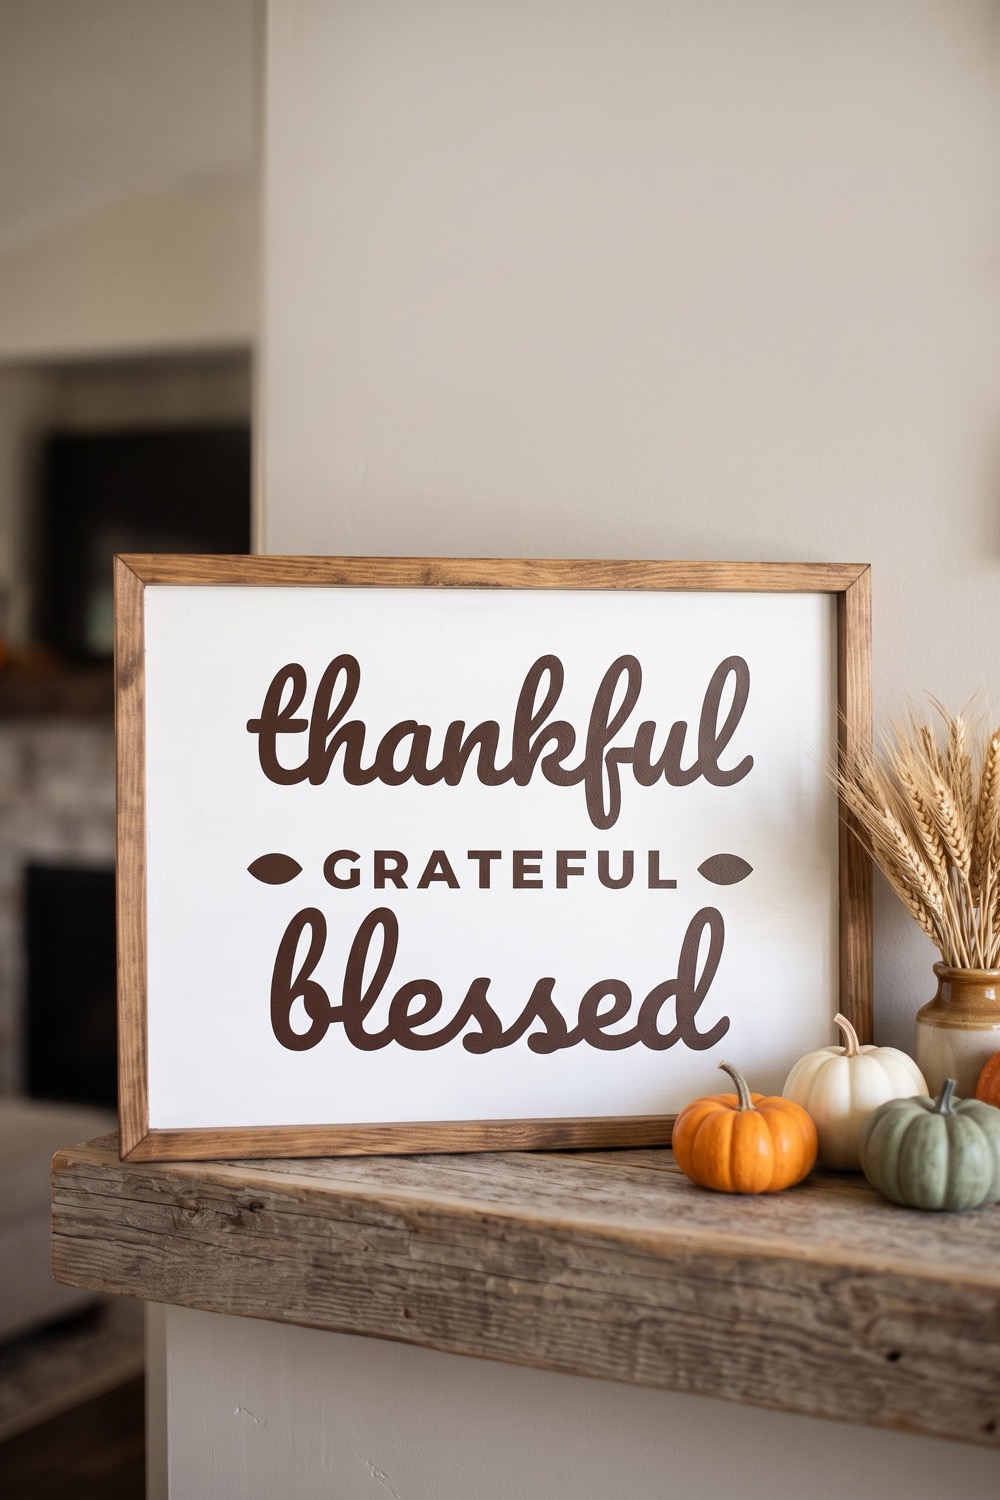
Thankful Grateful Blessed is the classic Thanksgiving trio, and a wood sign is the classic place for it. Set it on a mantel or on the buffet where the food is served. Our picture shows dark brown vinyl on a white framed board. Most of the work is preparing the board so the vinyl grips, then getting three words onto it straight.
What you need
- Smooth wood board or sign blank painted white in our picture, and sealed; 12 in or more on its longer side
- Adhesive vinyl dark brown on a white board, as pictured; white on dark stain
- Transfer tape a sheet large enough to cover all three words
- Cutting machine and mat a standard mat cuts a little under 12 in wide
- Weeding hook and scraper for weeding and burnishing
- Painter's tape and a ruler for the hinge and for centering
- The free “Thankful Grateful Blessed” cut file sign-ups for the file open soon


Sign-ups open soon
The free SVG and PNG for “Thankful Grateful Blessed” will be sent by email. We are still setting that up, so there is nothing to fill in yet.
The steps on this page are ready to read now. Come back to this page for the file once sign-ups open.
How to make it
- Prepare the board. Vinyl grips smooth, sealed surfaces and lets go of raw or rough wood. Sand the face lightly, then paint or stain it and add a clear sealer if the finish feels dry or chalky. Let it cure for as long as the product label says.
- Measure the board and size the SVG to leave a border of 1 to 1.5 inches all around. Keep the three words grouped as they come in the file, so the spacing between them stays as designed.
- Do not mirror the design. Place adhesive vinyl on the mat color side up and cut with the vinyl setting in your cutting software.
- Weed the background, then the centers of the closed letters in each word. The two small leaf shapes on either side of the middle word are loose pieces, so check that both are still on the backing.
- Cover the whole design with one piece of transfer tape. Burnish from the middle outward so no air is trapped.
- Lay the decal on the board with its paper backing still on. Measure from the board edges to the lettering on both sides and move it until the gaps match.
- Run a strip of painter’s tape across the middle of the decal and onto the board. This is the hinge.
- Lift the top half, peel the backing down to the tape and cut the loose backing away. Lay that half down slowly, smoothing from the hinge outward.
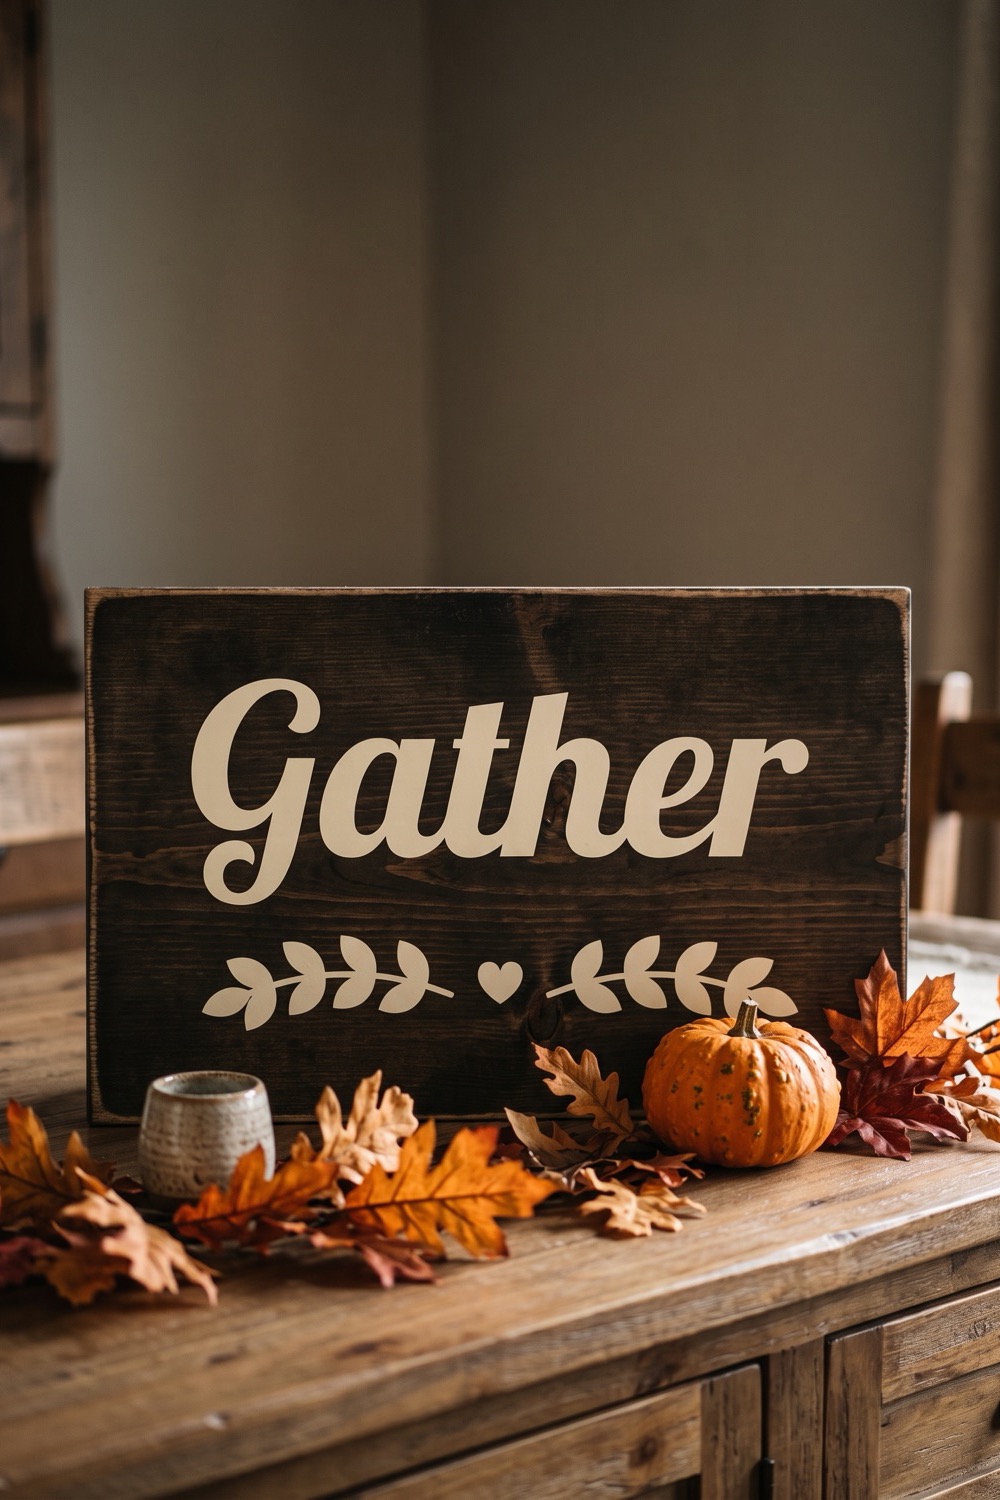
- Remove the hinge tape, fold up the other half, peel off the rest of the backing and smooth it down the same way. Burnish, then peel the transfer tape back flat against the board.
Tips
- Wipe sanding dust off with a barely damp cloth and let the board dry before the vinyl goes near it.
- If the vinyl tries to come up with the transfer tape, stop. Lay the tape back down, rub that spot again and peel at a sharper angle.
- Fresh paint can feel dry and still be soft. Rushing this is the main reason transfer tape pulls paint off a sign.
- Matte vinyl looks more like hand lettering on wood. Glossy vinyl catches the light and reads from farther away.
FAQ
Why will the vinyl not stick to the wood?
The surface is usually too rough, dusty or dry. Wood grain gives the adhesive only a few high points to hold. A coat of paint or clear sealer, sanded smooth and fully cured, fixes it in most cases.
Should the board be painted or stained?
Either works. Paint gives a flat, even color and the easiest surface for vinyl. Stain shows the grain and looks rustic, but stained wood needs a clear topcoat before vinyl will hold well.
What can be done if the words go on crooked?
Lift the decal straight away, before it is burnished down, and it will often come up in one piece. Once it is rubbed in, removing it can stretch the vinyl. The hinge in step 7 takes an extra minute and saves you from this.