Grateful Heart Canvas Tote Bag (Free SVG Cut File)
Press the free Grateful Heart SVG onto a canvas tote with iron-on vinyl. A beginner Thanksgiving project with placement help and tips for rough canvas.
- Skill level
- Beginner
- Time
- 40 minutes
- Made on
- Tote bag
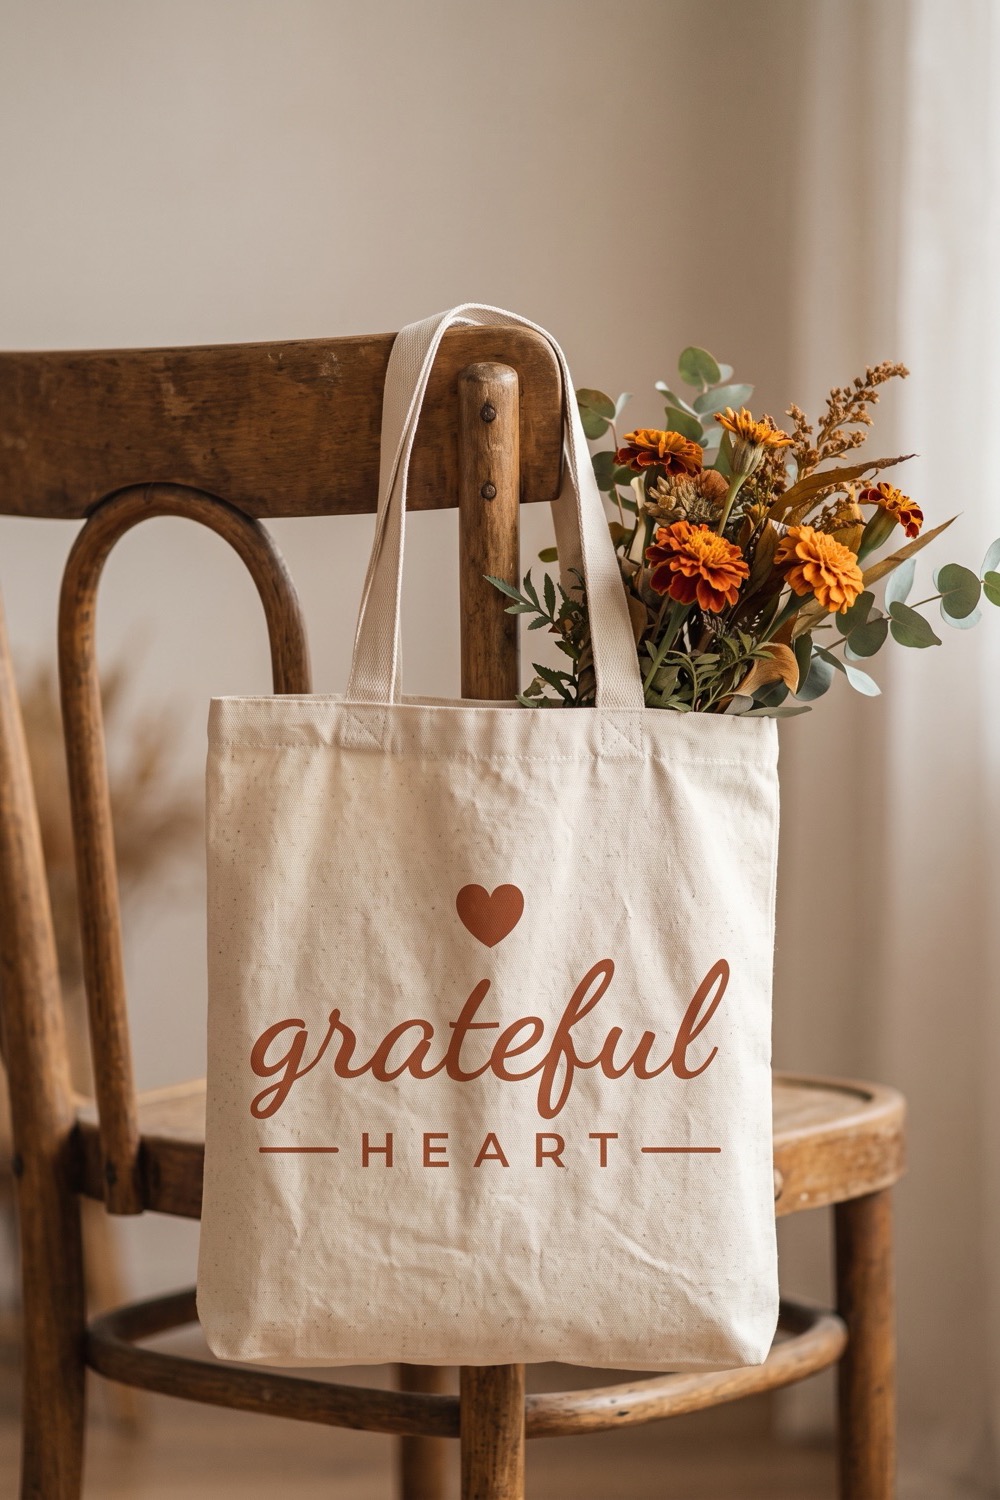
A Grateful Heart tote is a simple way to carry a little thanks around all November. Use it for the farmers market, or hand it to a host with a pie tucked inside. A flat canvas bag is one of the easiest things to press, because there are no sleeves or collars to work around. The weave is rougher than a T-shirt, though, so you press harder and finish from the back.
What you need
- Plain canvas tote bag natural cotton canvas, about 15 x 16 in
- Heat transfer vinyl (HTV) rust in our picture; brown or black also show well
- Cutting machine and standard grip mat Cricut or Silhouette
- Weeding hook for the letter centers
- Heat press or iron canvas needs firm pressure
- Pressing pad or folded towel goes inside the bag
- Parchment paper to cover the design
- The free “Grateful Heart” cut file sign-ups for the file open soon

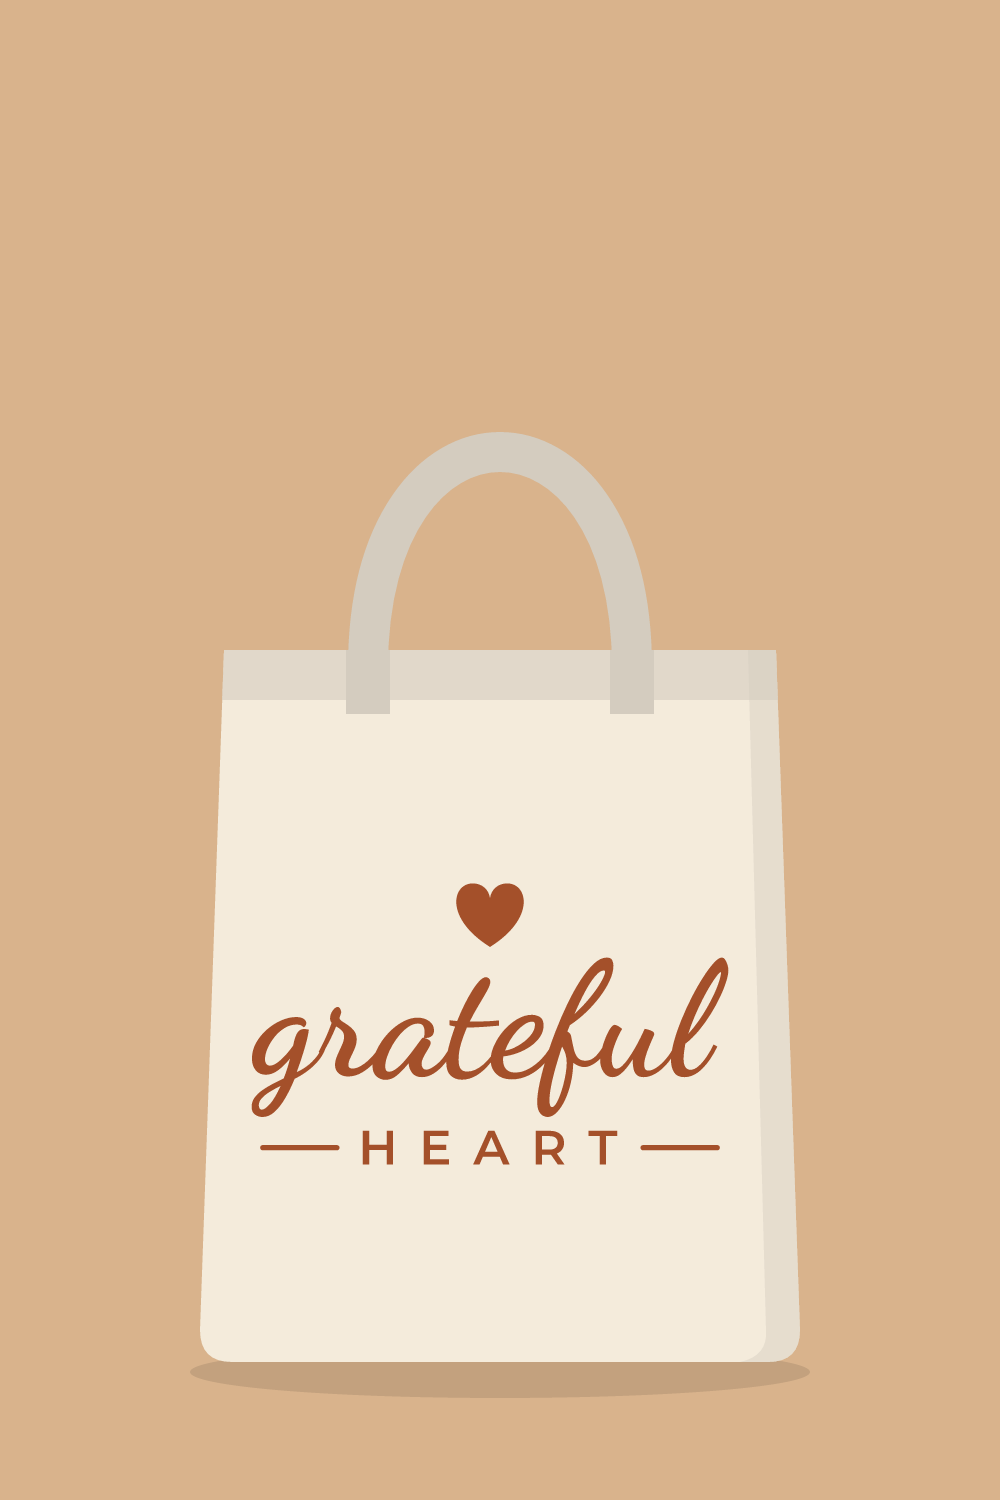
Sign-ups open soon
The free SVG and PNG for “Grateful Heart” will be sent by email. We are still setting that up, so there is nothing to fill in yet.
The steps on this page are ready to read now. Come back to this page for the file once sign-ups open.
How to make it
- Iron the tote flat. Bags usually arrive folded, and a crease under the vinyl will show for good.
- Measure the front panel. On a standard tote of about 15 inches across, a design 8 to 10 inches wide leaves a comfortable border. Size the SVG to suit your bag.
- Mirror the design in your cutting software.
- Place the HTV shiny side down on the mat and cut it using the iron-on setting for your vinyl.
- Weed the extra vinyl, including the small centers inside the letters. The heart above the script word and the two short rules beside the bottom line are separate pieces. The carrier sheet keeps them in position.
- Slide a pressing pad or folded towel inside the bag. It gives a firm, even surface and keeps the side seams and bottom hem from holding the press off the canvas.
- Pre-press the front panel to remove moisture. Canvas is thick and holds more than you expect.
- Center the design left to right. In our picture it sits around the middle of the panel and a little below. Keep the bottom line at least 3 inches above the bottom seam, since the base of a full bag sags and folds.
- Cover with parchment and press firmly, following your vinyl maker’s heat guide. Peel the carrier at the temperature the guide recommends.
- Turn the bag inside out and press the same area again from the back for a moment. This pushes the adhesive down into the weave.
Tips
- After peeling, look closely at the vinyl. You should see the canvas texture showing faintly through it. If the surface still looks smooth, cover it and press again with more pressure.
- Keep the handles folded up and away from the heat plate, so they do not leave a ridge.
- Natural canvas has small dark flecks and an uneven tone. Strong colors such as rust, forest green or black hide that better than pale shades.
- A fold line across the tote makes a handy level. Fold the bag in half top to bottom, crease it lightly with your hand, and line the lettering up with it.
FAQ
Should the tote be washed before pressing?
Only if you plan to wash it later. Cotton canvas can shrink, which wrinkles vinyl that was pressed on before the first wash. If the bag will be laundered, wash and dry it first, then iron it flat.
Why is the vinyl lifting at the edges?
On canvas the usual cause is light pressure. The adhesive has to sink into a coarse weave. Press again on a hard surface, lean in with your body weight and add the back-side press from step 10.
Can the finished bag go in the washing machine?
Yes, once the vinyl has had at least a day to set. Turn the bag inside out, use cool water and a gentle cycle, and let it air dry. Reshape it while damp and iron from the back side if it needs it.