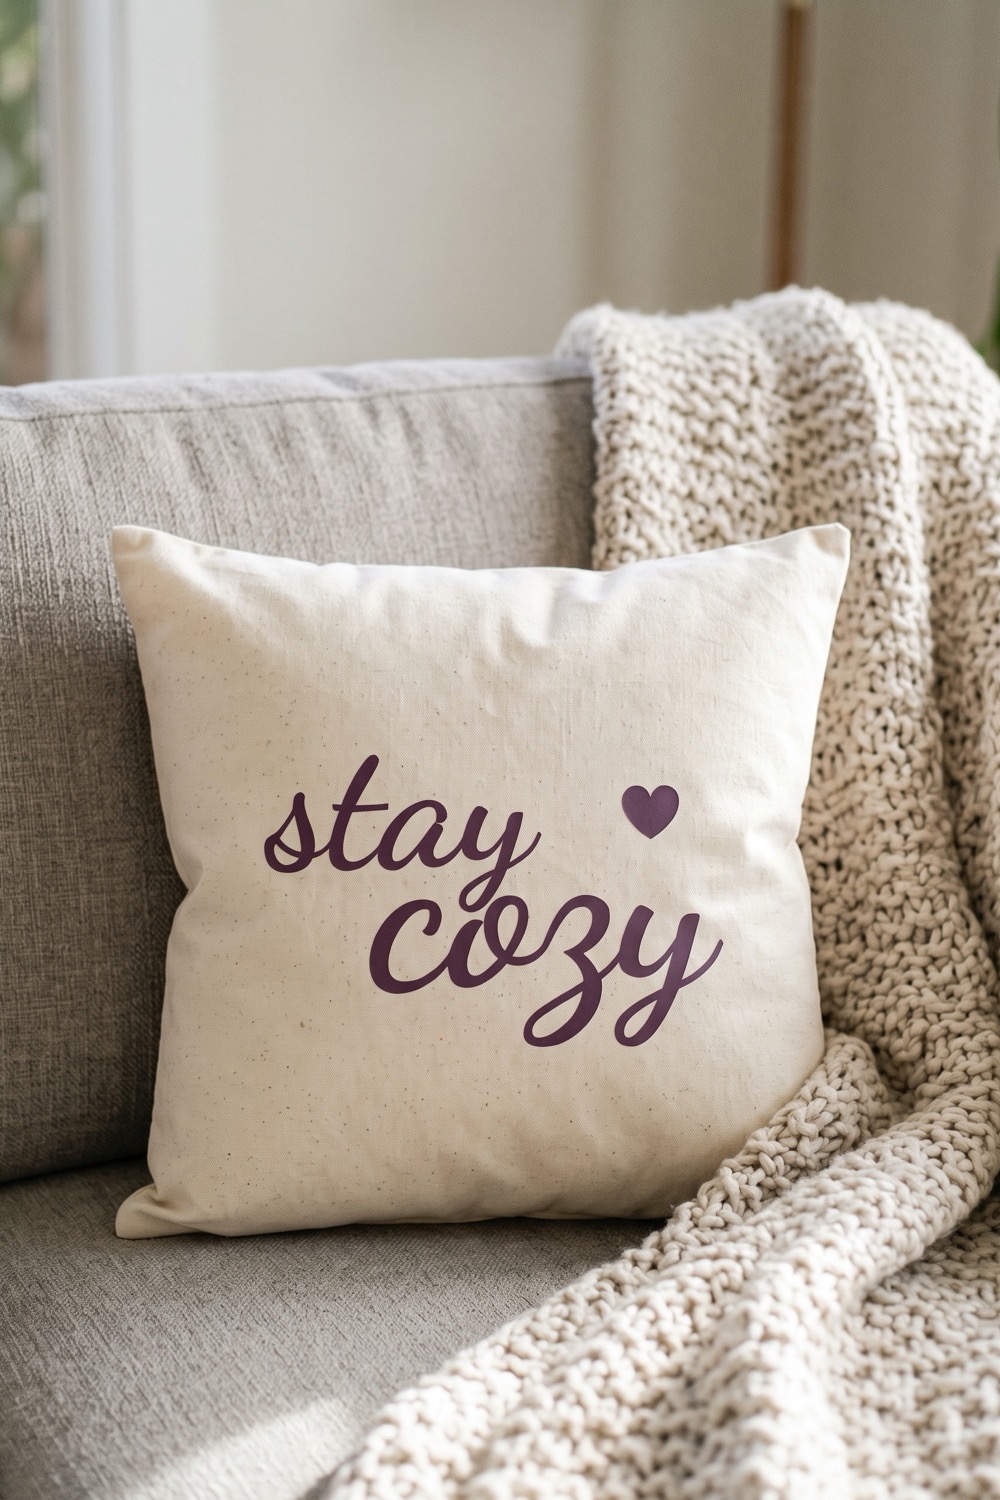
Hello Winter Rustic Pallet Sign (Free SVG for Cricut)
Apply the free Hello Winter SVG to a slatted pallet-style wood sign with adhesive vinyl. Explains how to handle the gaps between boards neatly.
- Skill level
- Easy
- Time
- 1 hour
- Made on
- Sign
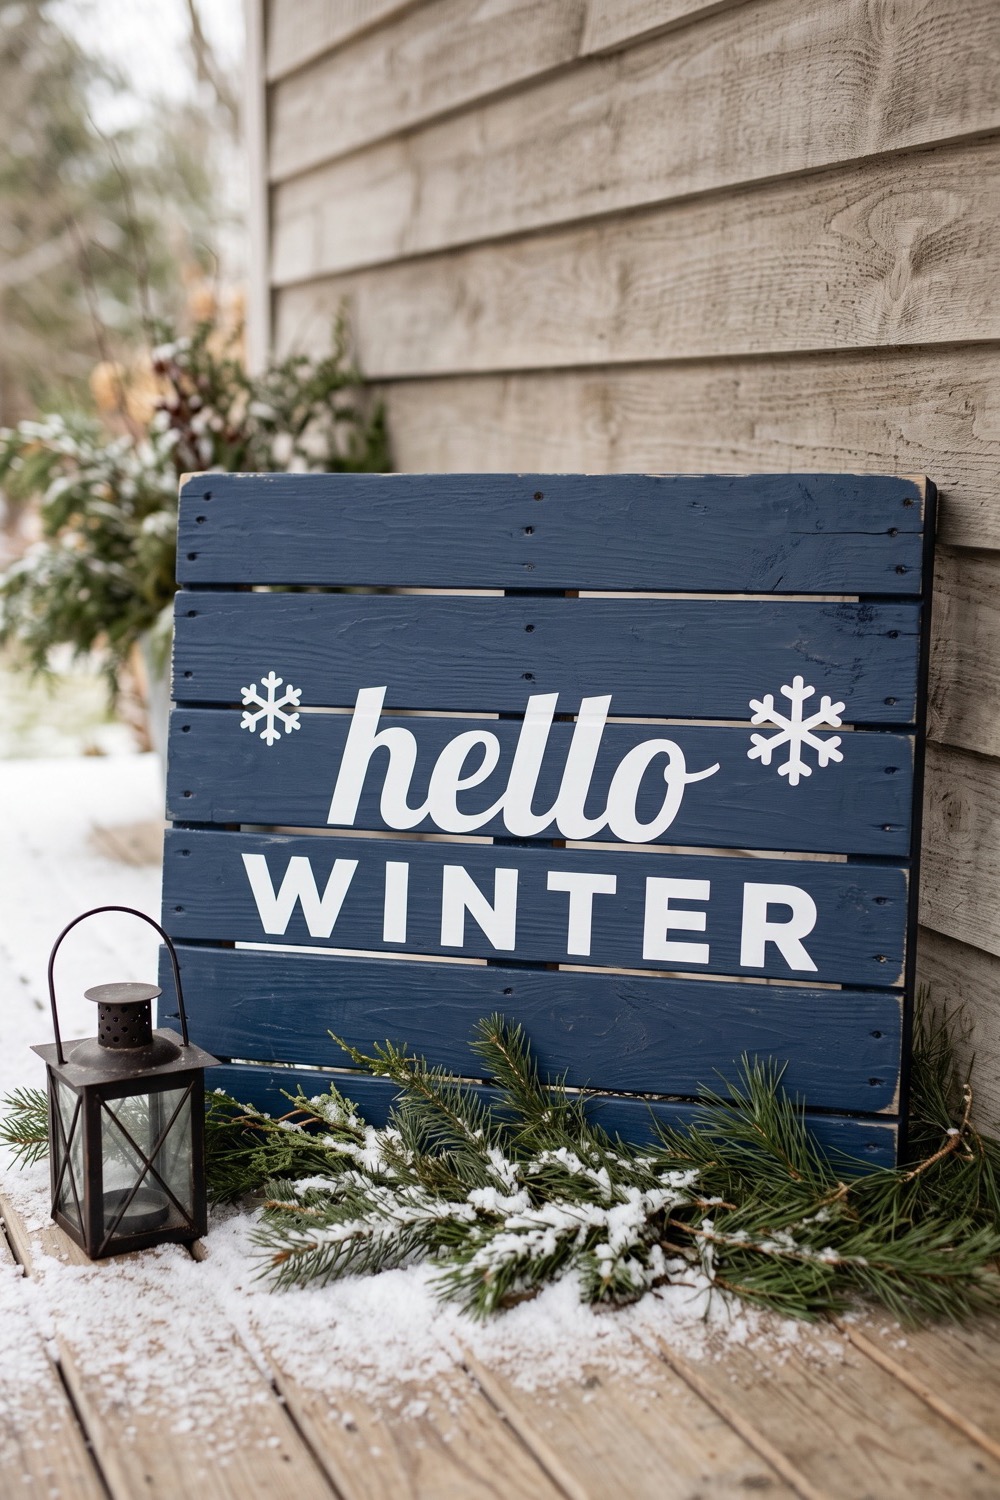
Hello Winter is the sign that takes over when the Christmas decor comes down. It greets January and February too, so it can stay on the porch or the entry shelf for two more months. This version goes on a slatted, pallet-style board for a rustic cabin look. Our picture shows white vinyl on a navy board, with the lettering crossing the gaps. Vinyl left stretched over those gaps tears, so you plan the layout around them and slice each one with a craft knife at the end.
What you need
- Slatted pallet-style wood sign painted navy in our picture, and sealed; craft-store blanks work
- Adhesive vinyl white on a dark board, as pictured; navy or charcoal on whitewash
- Transfer tape standard tack; one piece over the full design
- Cutting machine and mat Cricut or Silhouette
- Weeding hook and scraper for weeding and burnishing
- Craft knife with a fresh blade to slice the vinyl at each gap
- Painter's tape and a ruler for placement
- The free “Hello Winter” cut file sign-ups for the file open soon

Sign-ups open soon
The free SVG and PNG for “Hello Winter” will be sent by email. We are still setting that up, so there is nothing to fill in yet.
The steps on this page are ready to read now. Come back to this page for the file once sign-ups open.
How to make it
- Check the surface. Painted and distressed boards are often dry and dusty. Brush the board off, and if a finger rubbed across it picks up powder, add a coat of clear sealer and let it cure.
- Measure the board and note where the gaps fall. Size the SVG to leave a border of an inch or more.
- Nudge the layout before you cut. With two rows of lettering and several slats, some letters will cross a gap. Set the design height so each gap runs through the middle of a row of letters, not along its top or bottom edge. Keep the two snowflakes on solid wood if you can. Their thin arms are the first thing to tear when sliced.
- Cut the design from adhesive vinyl with the color side up. Mirroring is for iron-on only, so do not mirror here. Weed the background, the letter centers and the notches between the arms of each snowflake.
- Cover the design with transfer tape and burnish. Tape the decal in place with its backing on and check it from a few steps back.
- Use a painter’s tape hinge across the middle. Peel half the backing, smooth that half down, then do the other half. Rub firmly on the flat face of each slat.
- Peel the transfer tape away slowly. The vinyl will now be stretched across each gap like a small bridge.
- Run the craft knife along each gap to slice the vinyl. Press the cut ends down over the edge of each slat with a fingertip.
Tips
- Do not skip step 8. Vinyl left bridging a gap will tear or lift the first time something presses on it.
- Fit a fresh knife blade. A dull one drags the vinyl and pulls a letter out of place.
- Deep grooves and heavy distressing break up thin lettering. If your board is rough, make the design larger so the strokes are wider.
- Soft blues, charcoal and white keep the sign wintry without making it look like Christmas.
FAQ
Does adhesive vinyl stick to whitewashed or chalk-painted wood?
Not well without help. Those finishes are porous and slightly powdery, so the adhesive grabs dust and not the board. A clear sealer over the paint gives the vinyl a solid surface. Let it cure first.
Would a flat board be easier?
Yes. On a solid board you can skip the gap planning and the knife work. The pallet style adds about ten minutes and gives a more rustic result. Choose whichever suits your room.
How should the sign be stored for next winter?
Wrap it in paper or an old pillowcase, not plastic, and store it flat somewhere dry. Avoid attics that get very hot, since heat can soften the adhesive and let the letter edges curl.